$4.00
California State Vinyls—
$4.00
The Story
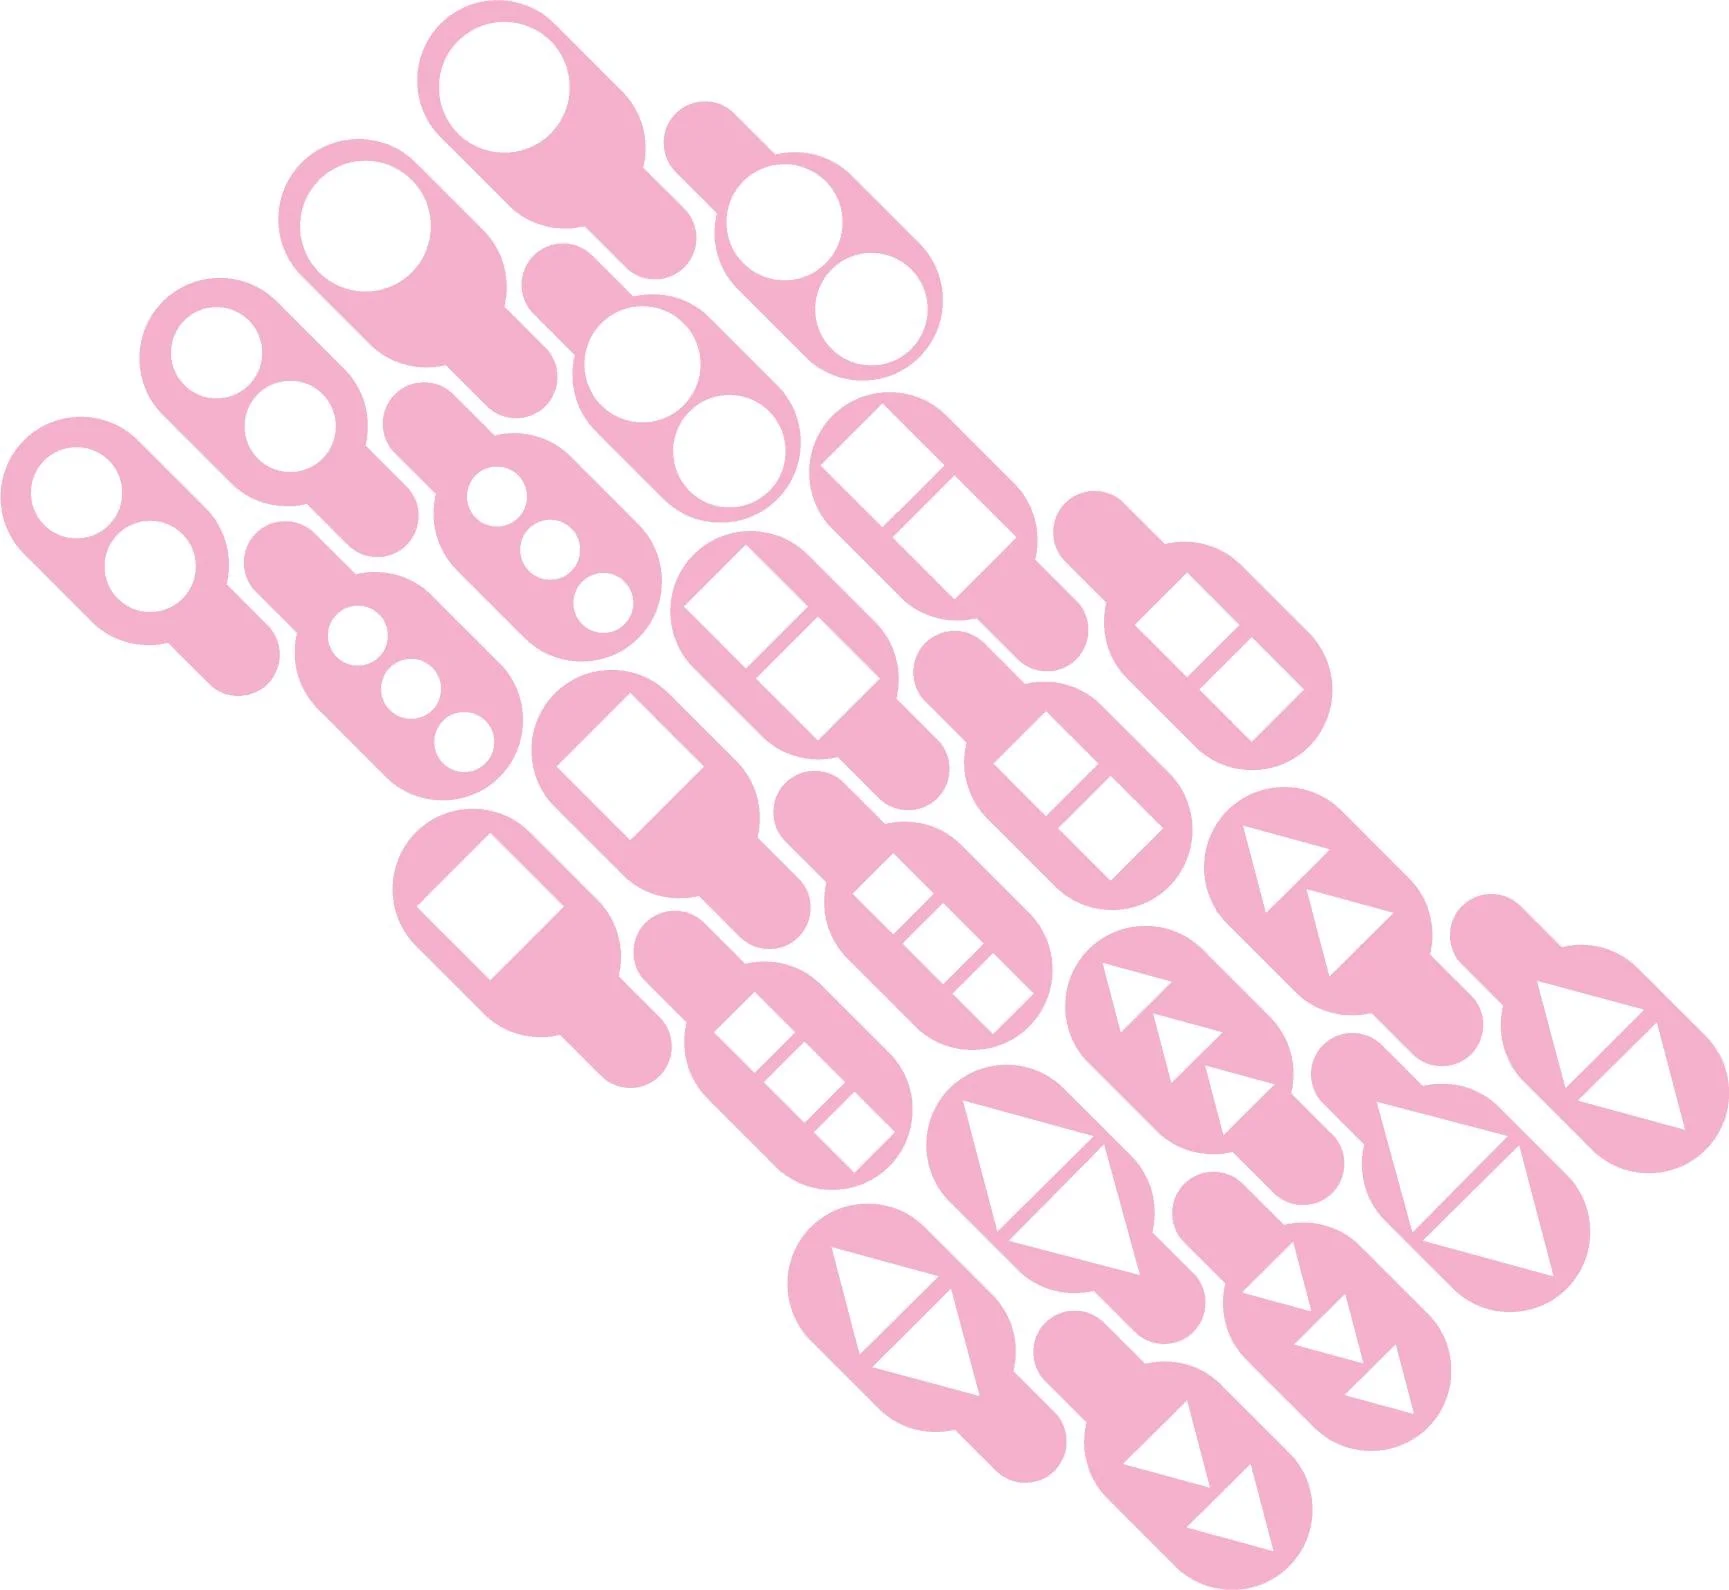
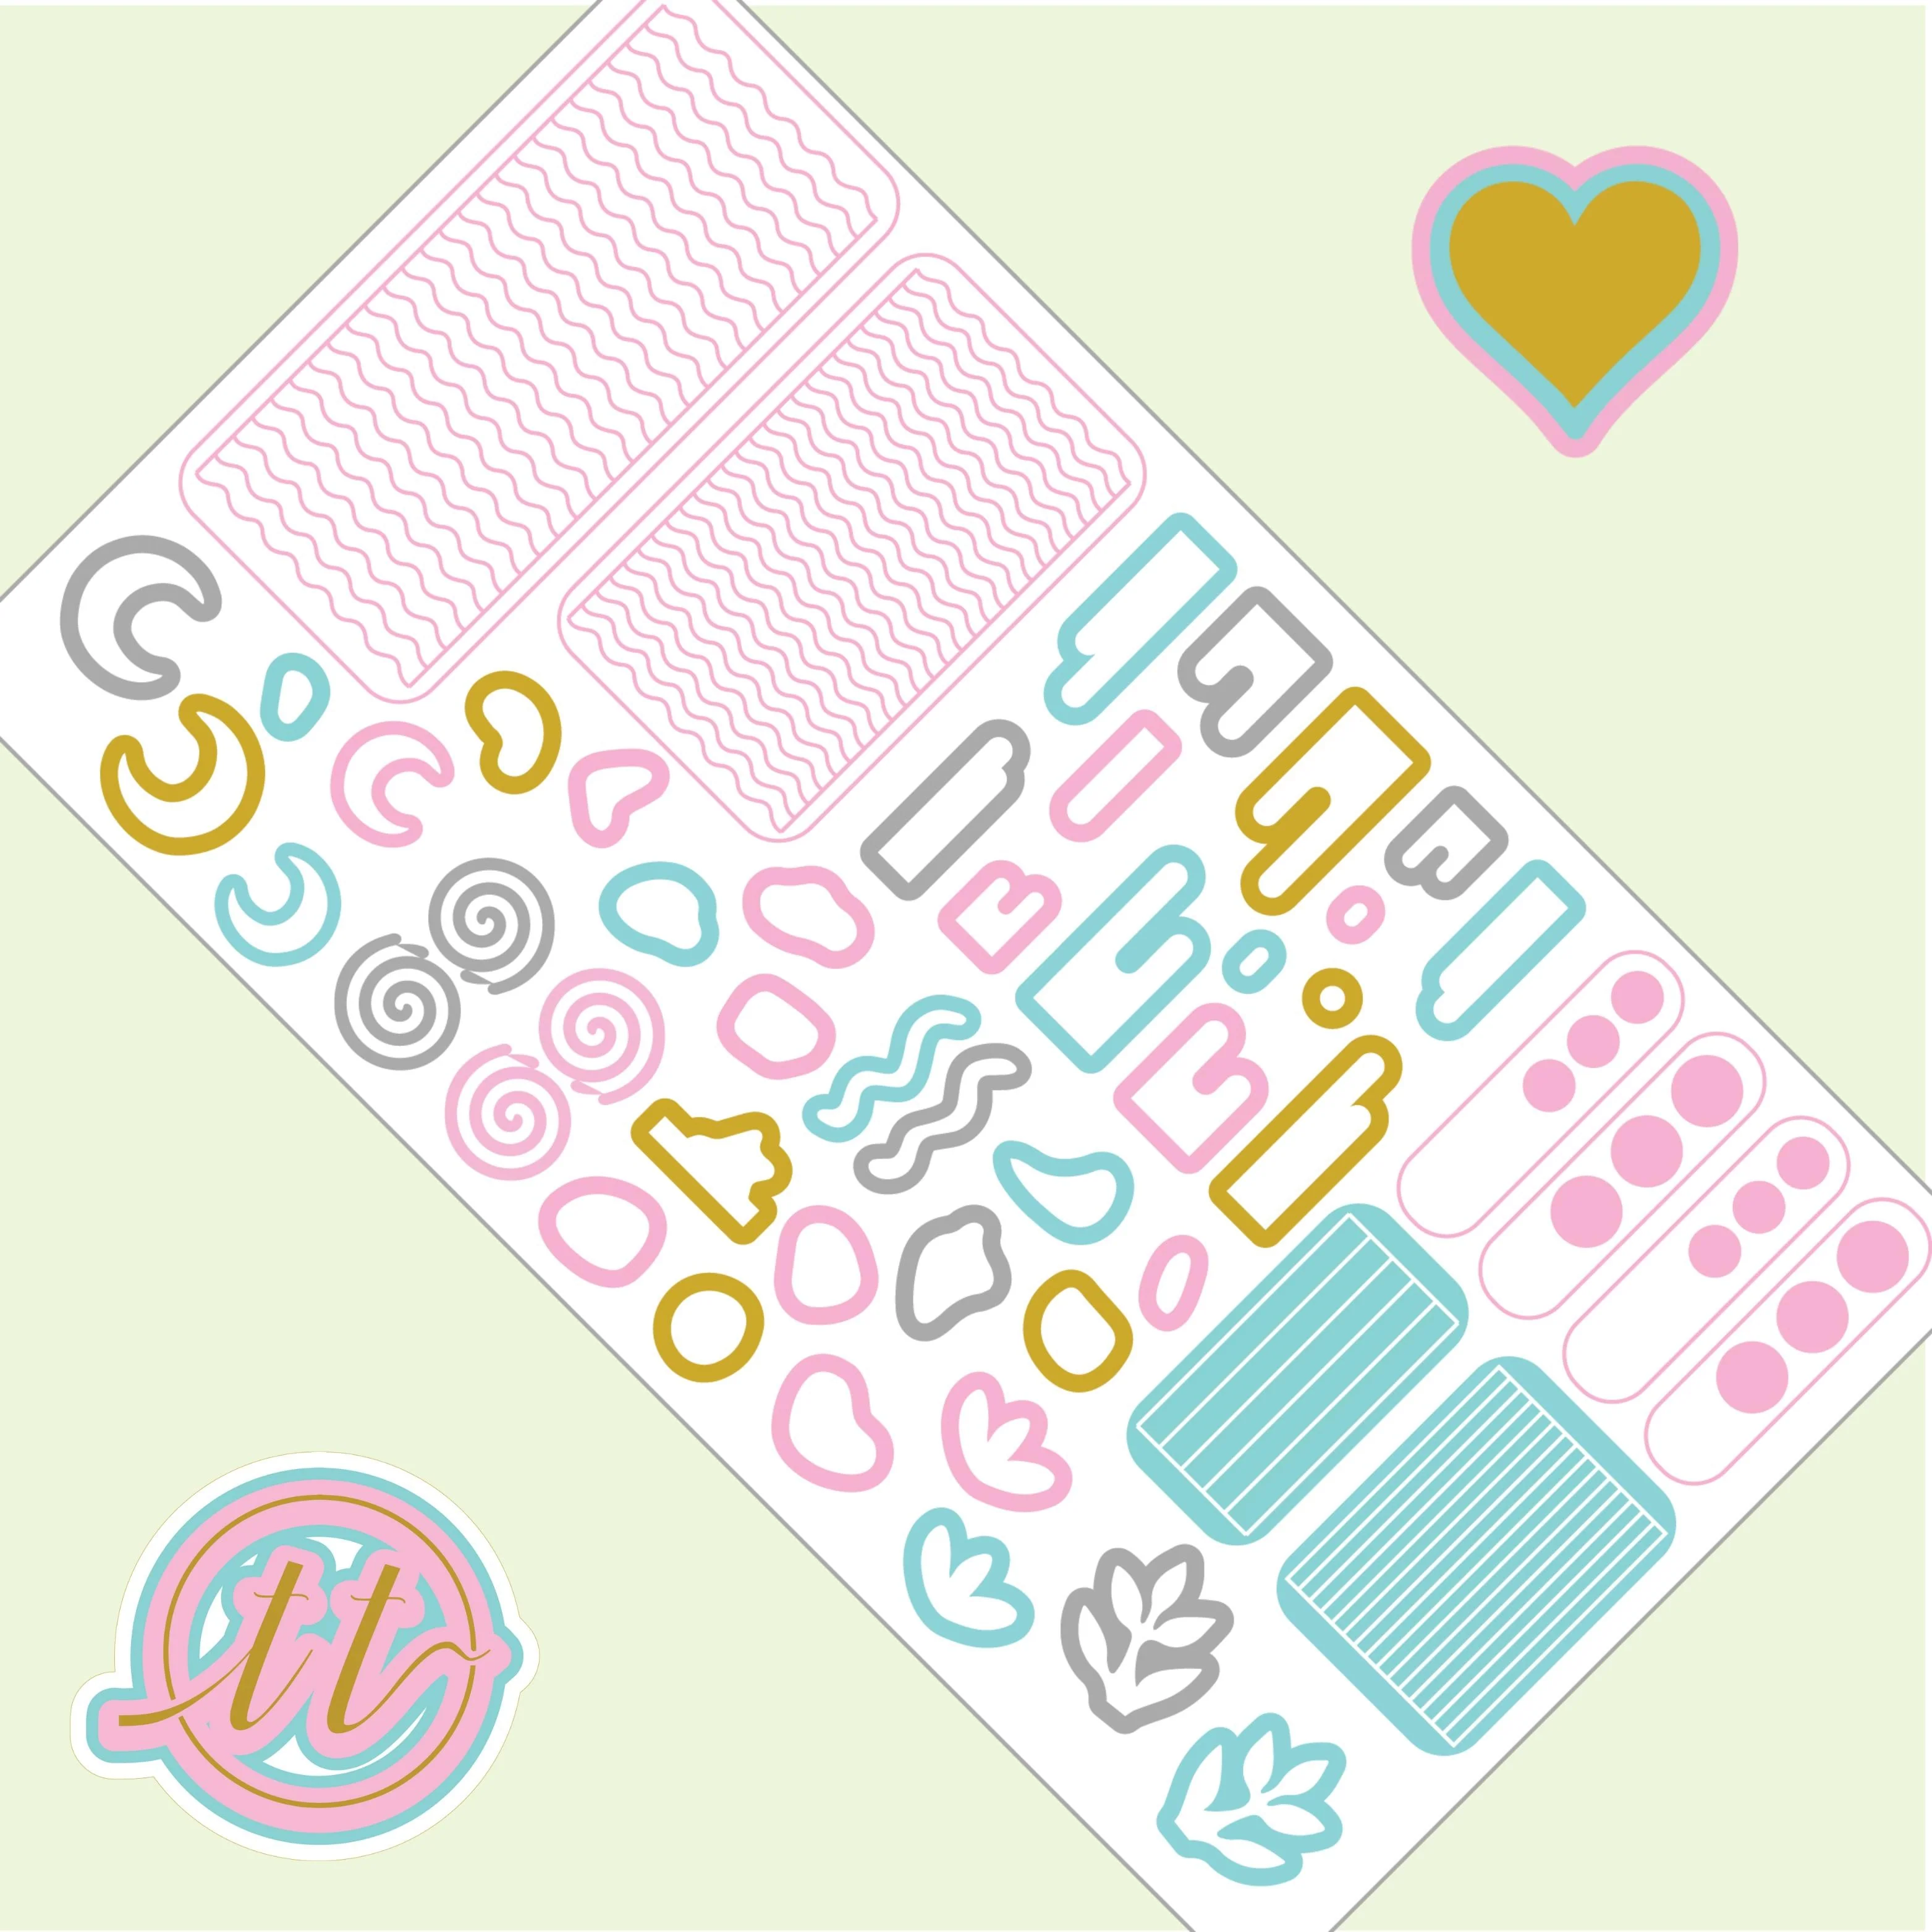
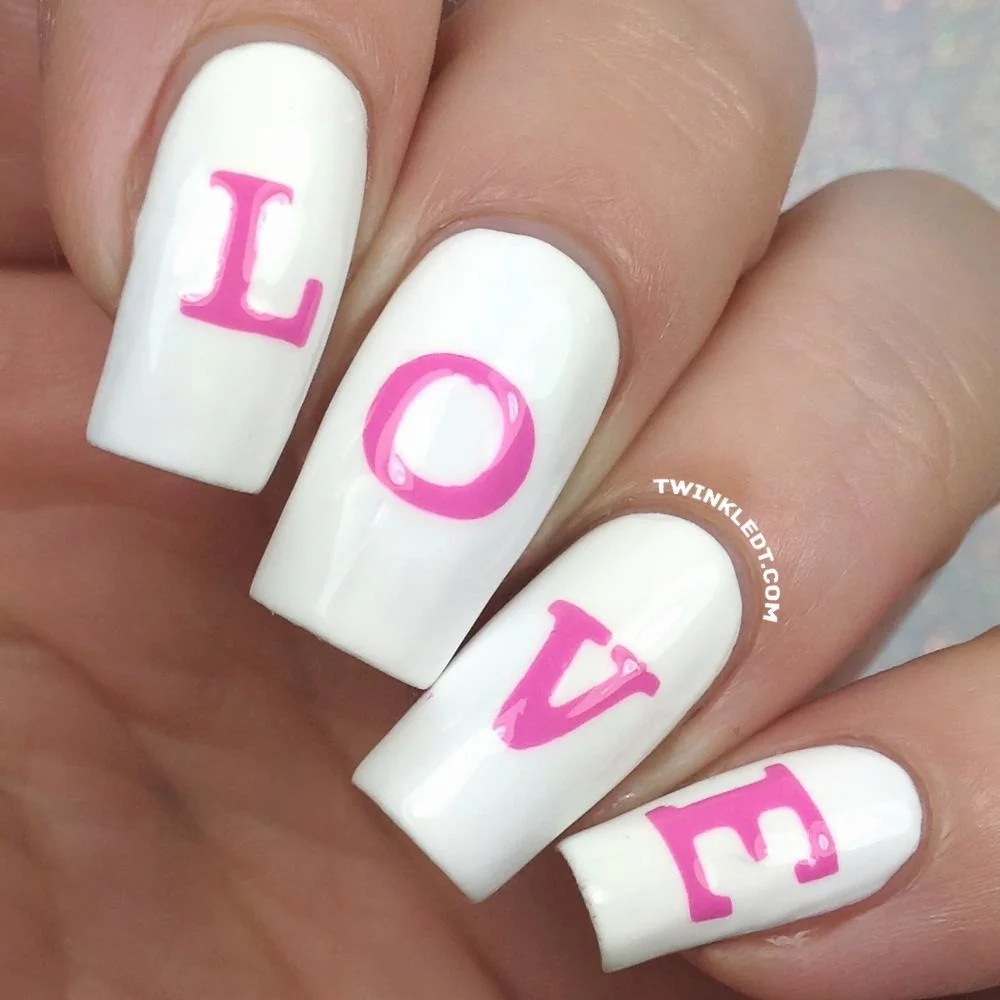
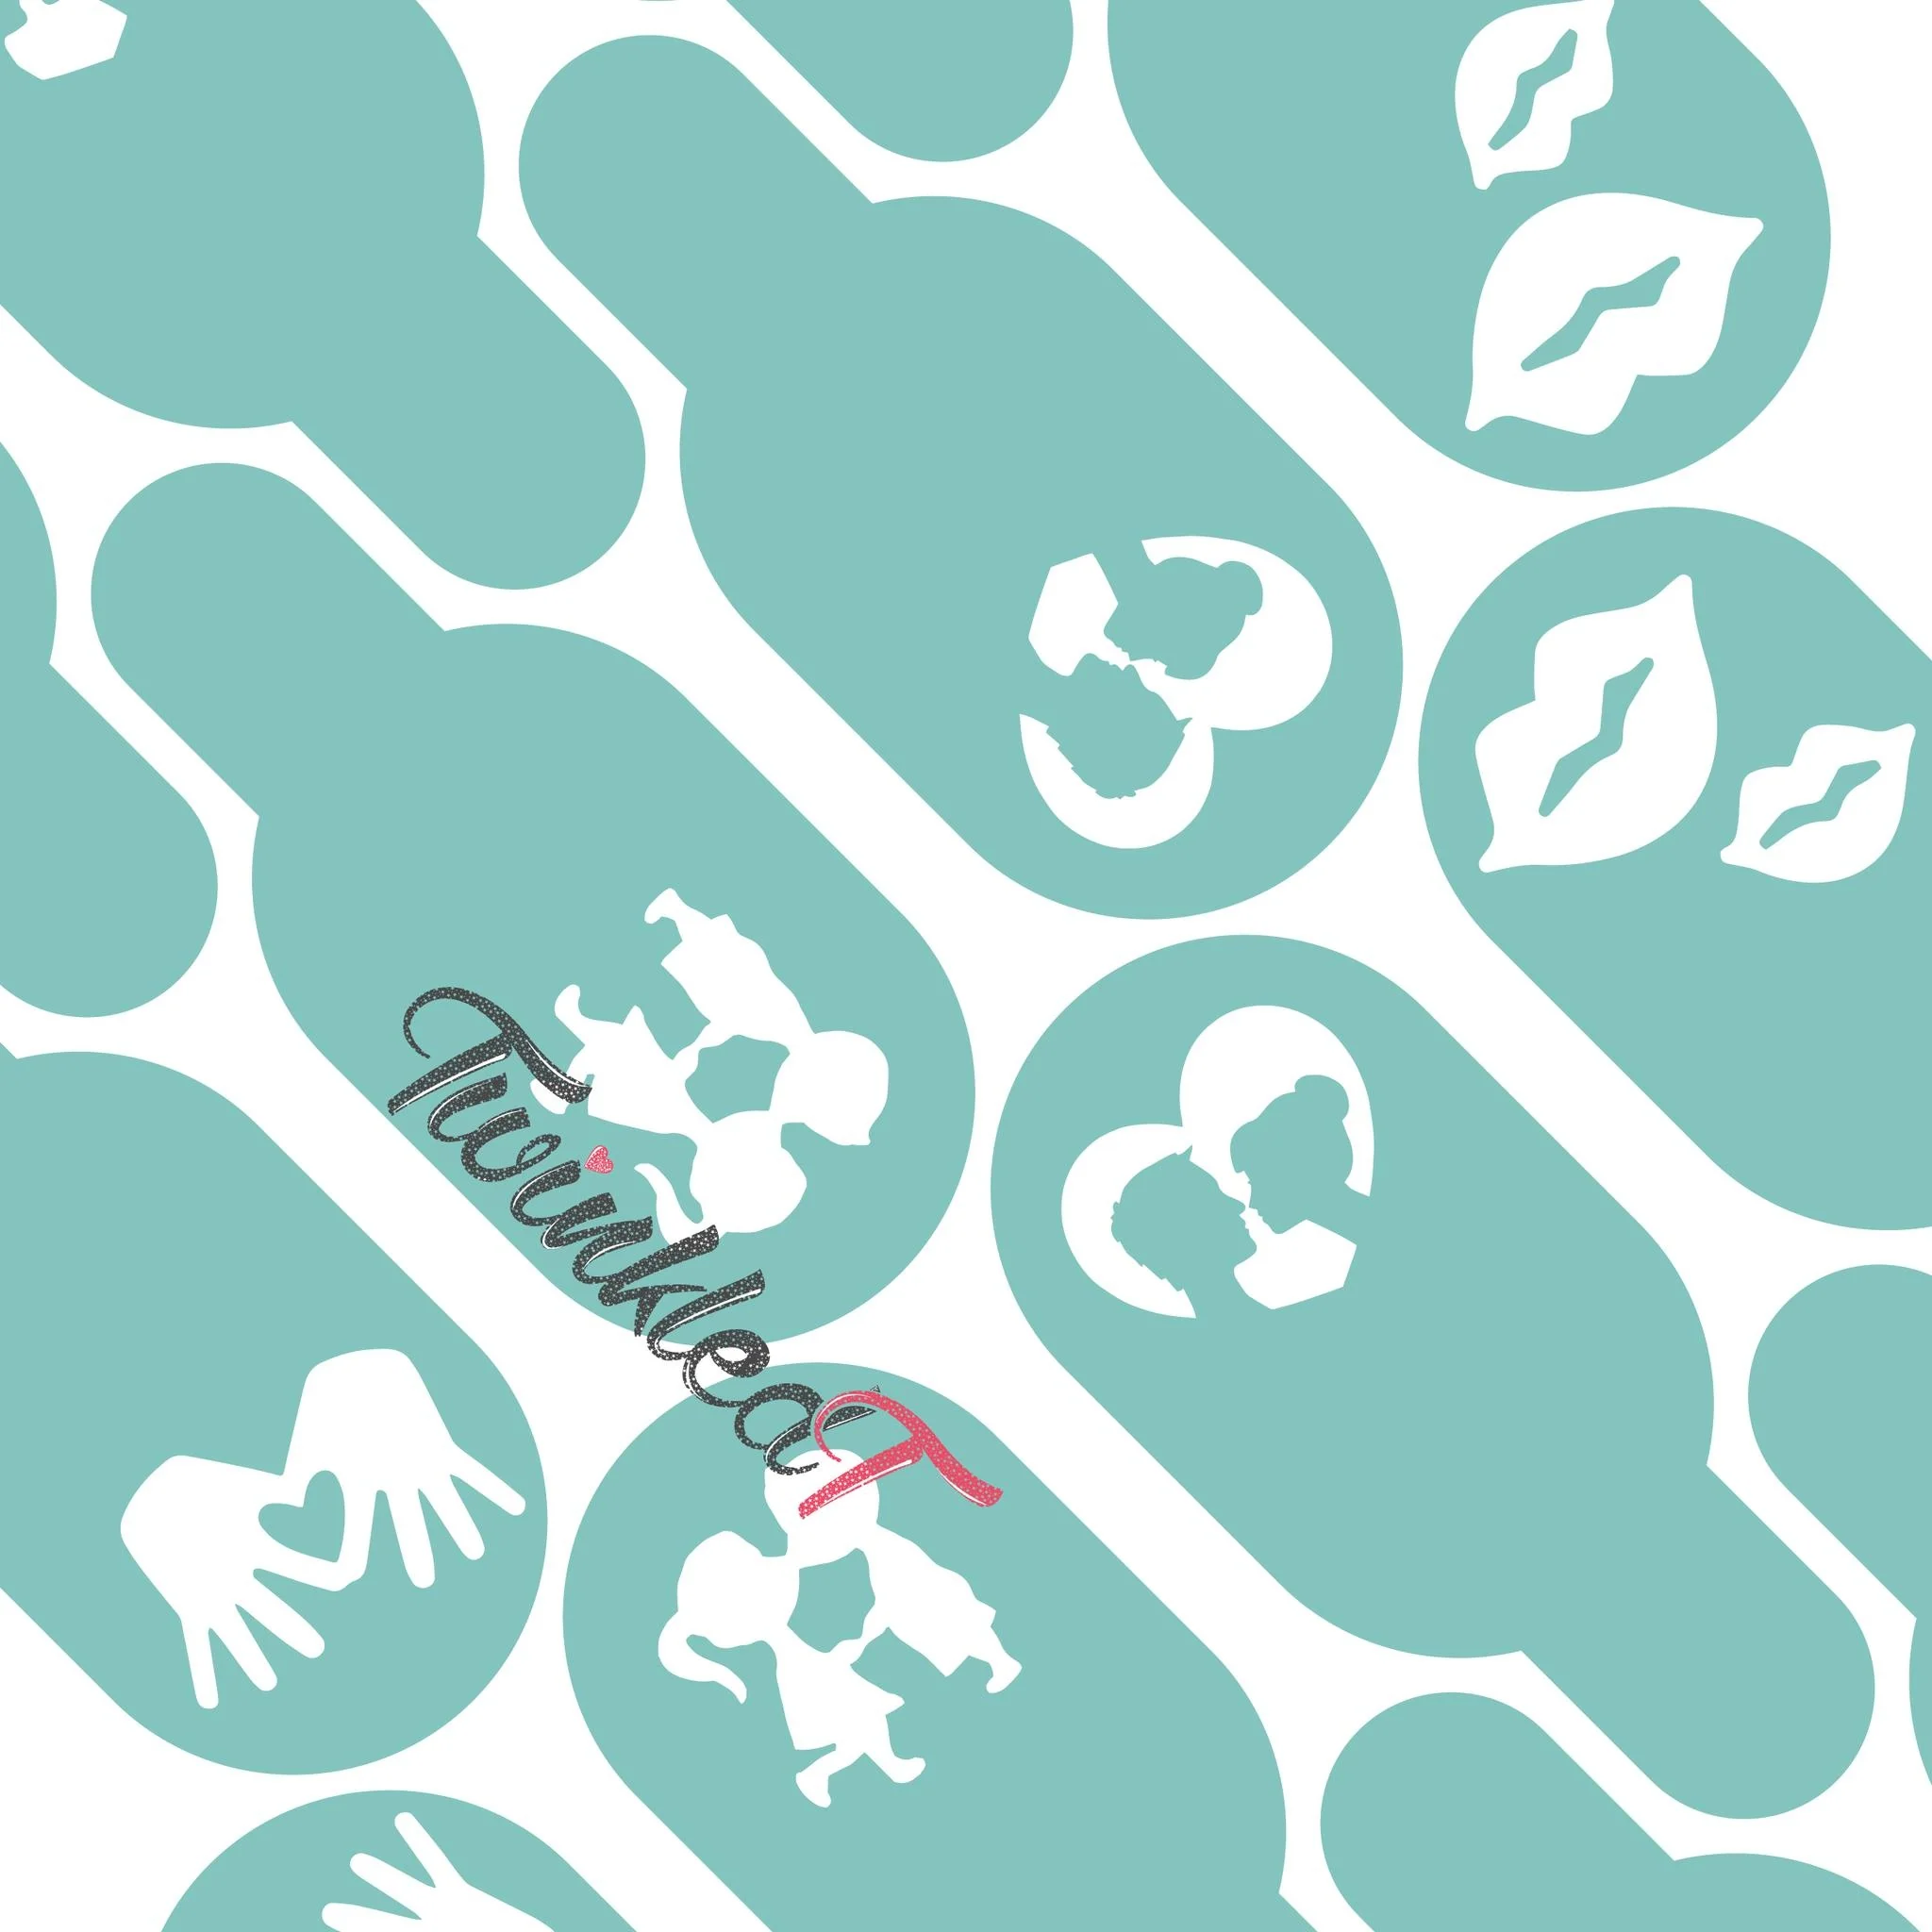
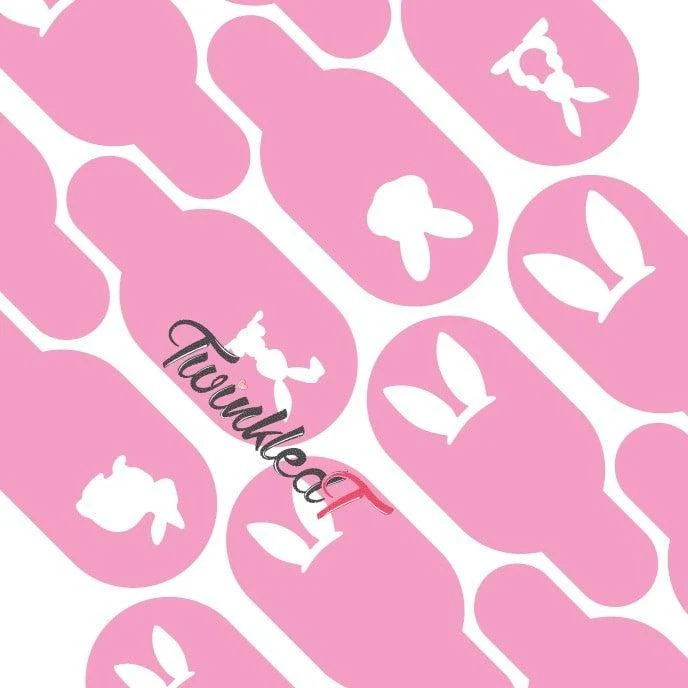
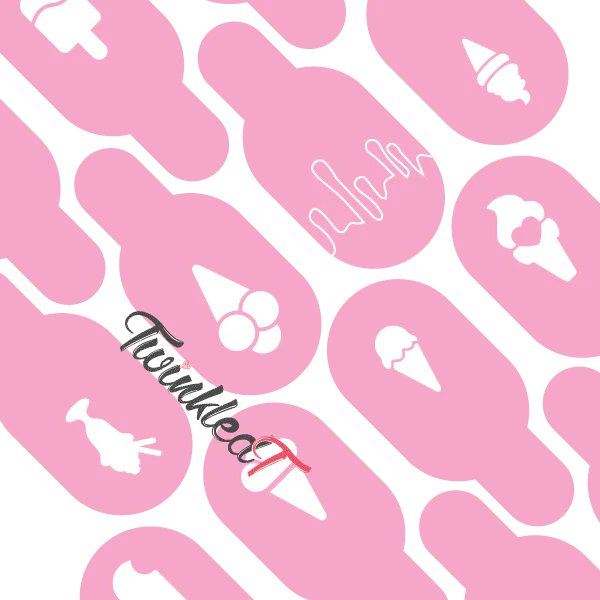
<p>This sheet contains 24 decals and 24 stencils.</p>
<p>All nail vinyls are handmade by the Twinkled T sisters in Los Angeles, CA.
<h4>Directions</h4>
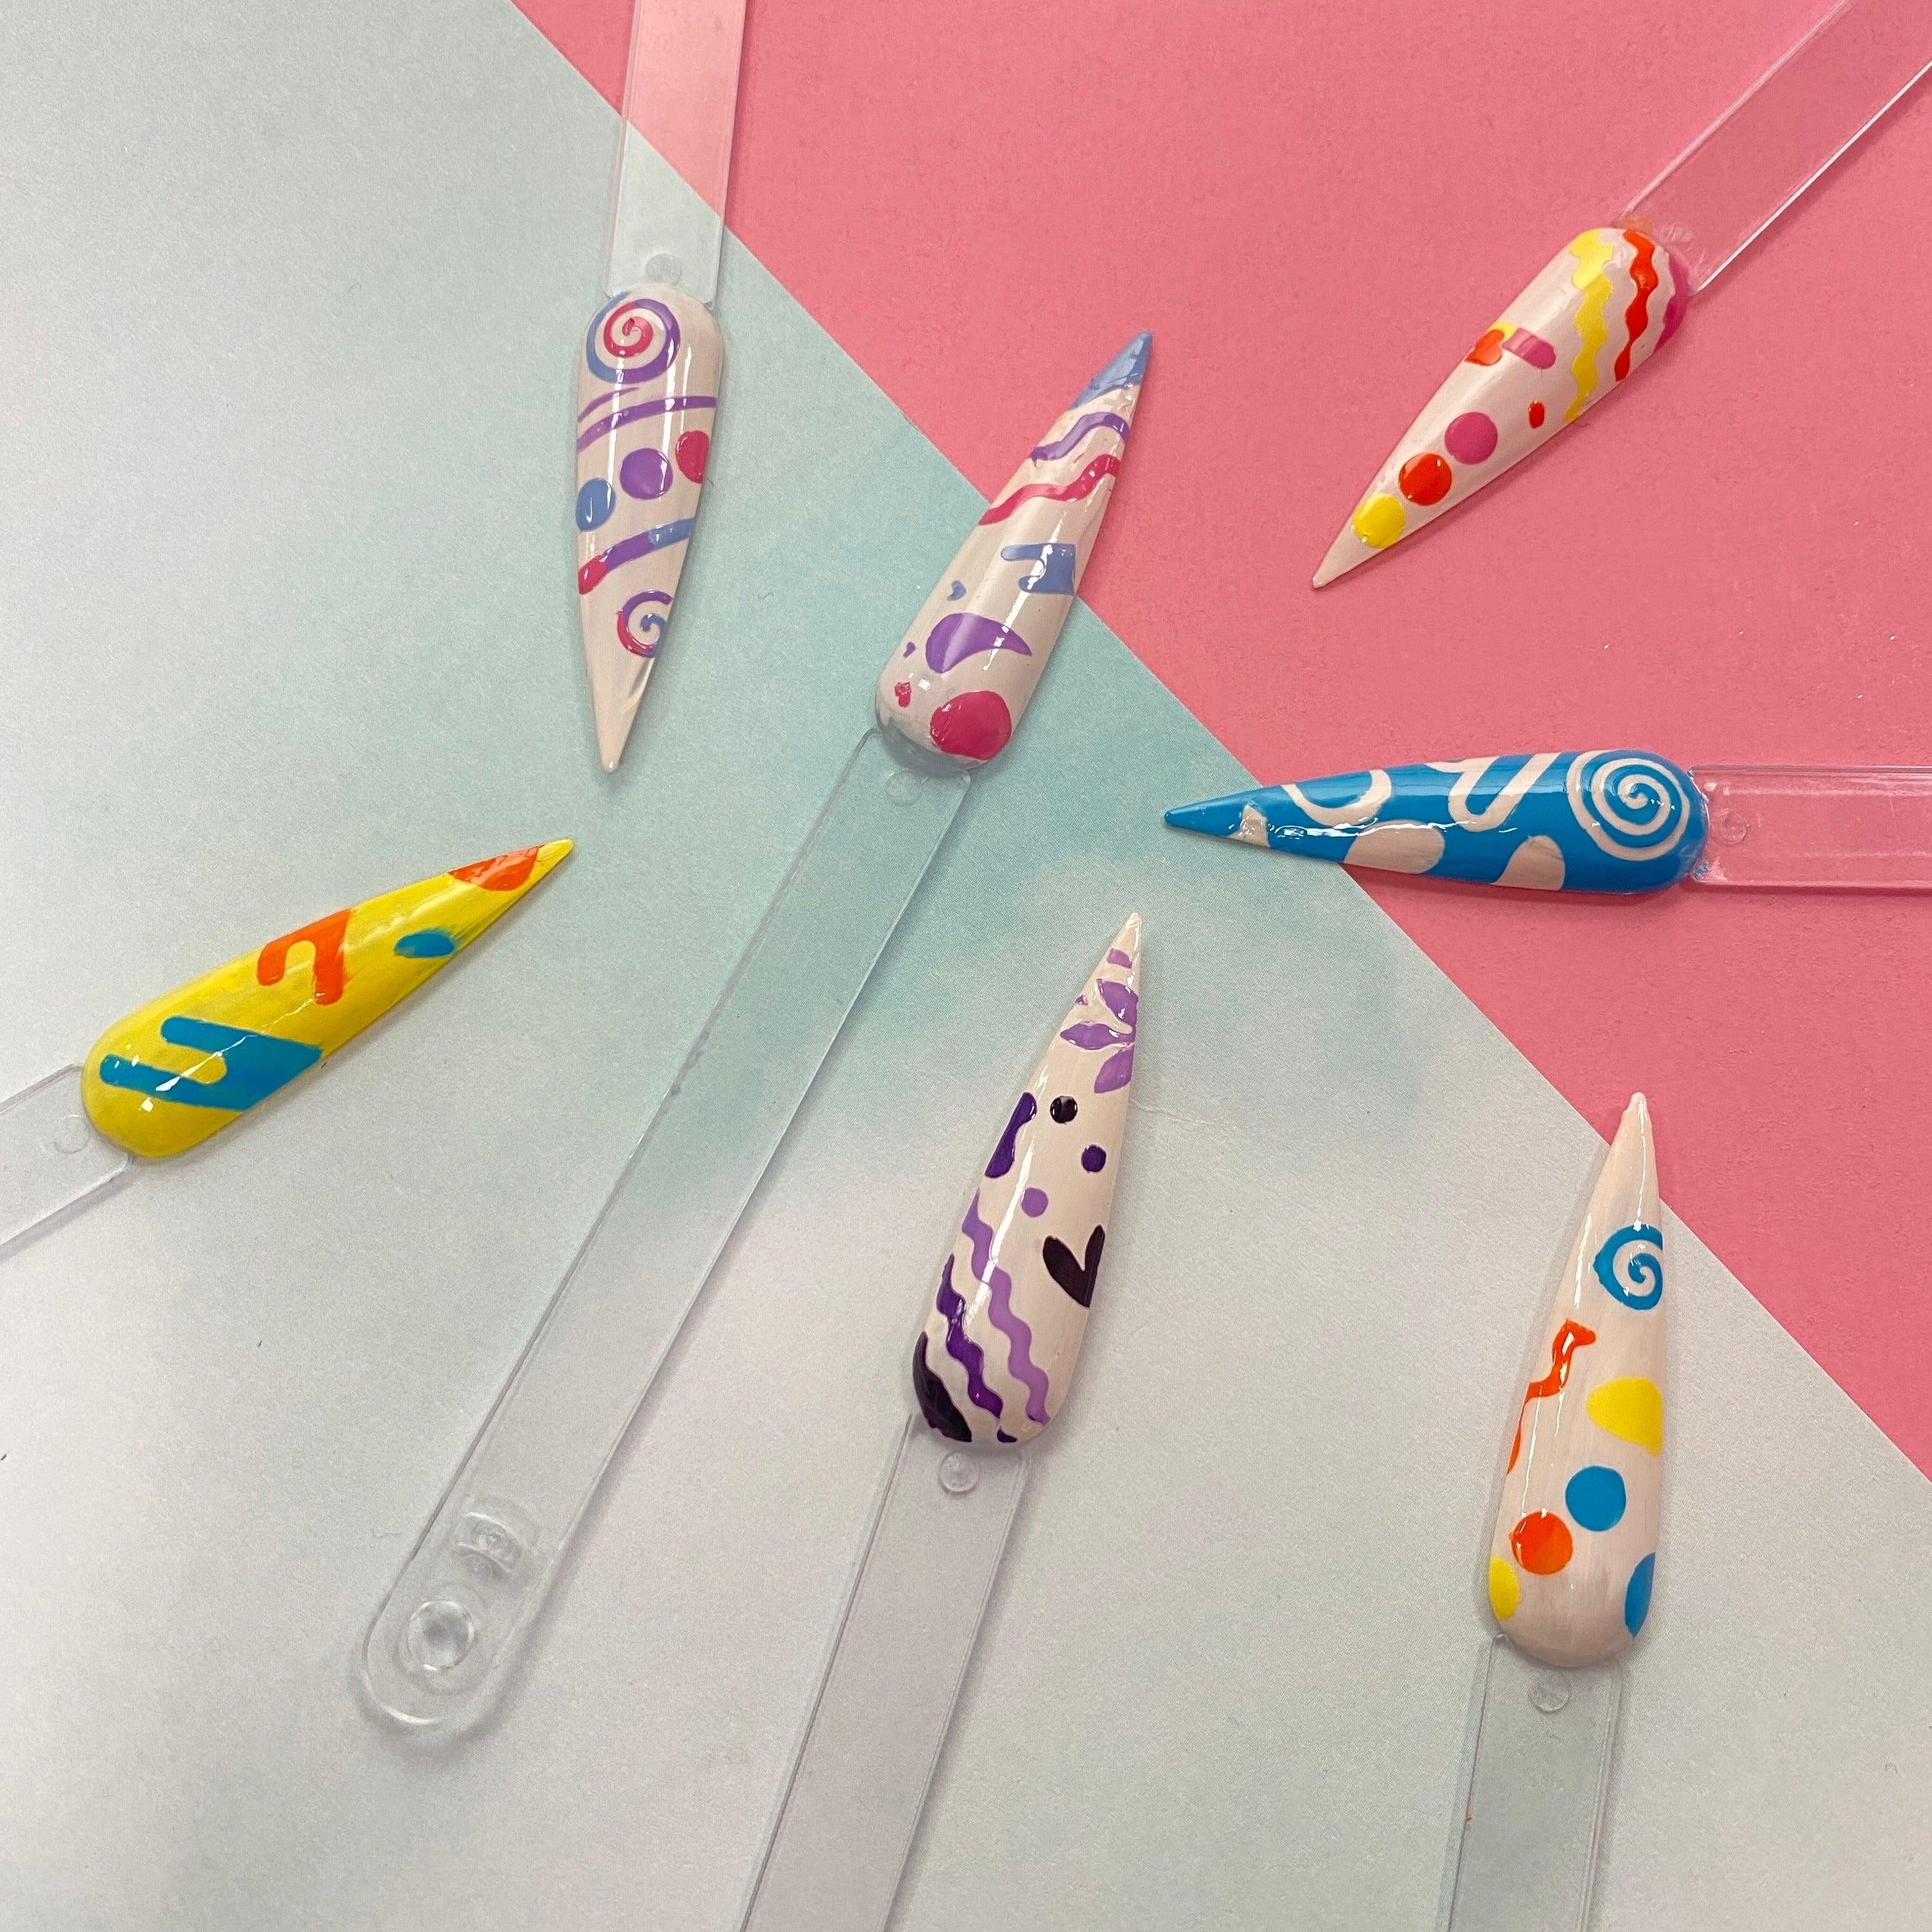
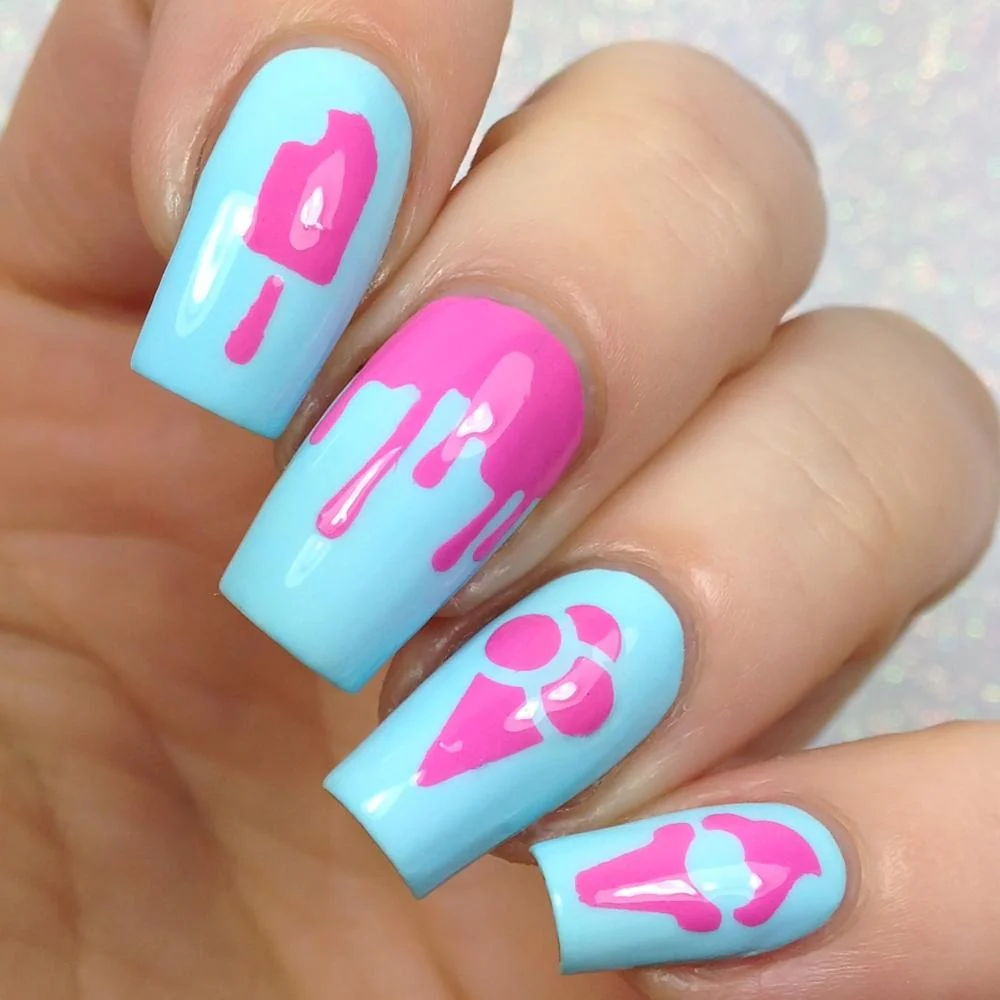
1. Begin by painting your choice of base polish onto your nails.<br data-mce-fragment="1">2. Once thoroughly dried, paint a coat of clear, fast-drying topcoat onto your nails.<br data-mce-fragment="1">3. Once thoroughly dried, use tweezers to lift nail vinyl off its sheet and place onto your nail.<br data-mce-fragment="1">4. Apply your second choice of polish over the nail vinyl.<br data-mce-fragment="1">5. While the nail polish is still wet, remove your nail vinyl from your nail.<br data-mce-fragment="1">6. Add a topcoat and show off your gorgeous new manicure! <br data-mce-fragment="1">
<h4>Tips</h4>
- Your nail vinyl order will include a special Twinkled T packaging to take your nail vinyls on the go!<br data-mce-fragment="1">- Tips and tricks for using nail vinyls can be found here.<br data-mce-fragment="1">- Use tweezers to lift your vinyls. The oils of hands will remove the sticky residue from the vinyl.<br data-mce-fragment="1">- Remove the nail vinyl while the polish is still wet. Once the polish begins to dry, it will create a stringy and clumpy effect of polish when removing the vinyl.
<p>All nail vinyls are handmade by the Twinkled T sisters in Los Angeles, CA.
<h4>Directions</h4>
1. Begin by painting your choice of base polish onto your nails.<br data-mce-fragment="1">2. Once thoroughly dried, paint a coat of clear, fast-drying topcoat onto your nails.<br data-mce-fragment="1">3. Once thoroughly dried, use tweezers to lift nail vinyl off its sheet and place onto your nail.<br data-mce-fragment="1">4. Apply your second choice of polish over the nail vinyl.<br data-mce-fragment="1">5. While the nail polish is still wet, remove your nail vinyl from your nail.<br data-mce-fragment="1">6. Add a topcoat and show off your gorgeous new manicure! <br data-mce-fragment="1">
<h4>Tips</h4>
- Your nail vinyl order will include a special Twinkled T packaging to take your nail vinyls on the go!<br data-mce-fragment="1">- Tips and tricks for using nail vinyls can be found here.<br data-mce-fragment="1">- Use tweezers to lift your vinyls. The oils of hands will remove the sticky residue from the vinyl.<br data-mce-fragment="1">- Remove the nail vinyl while the polish is still wet. Once the polish begins to dry, it will create a stringy and clumpy effect of polish when removing the vinyl.

Details & Craftsmanship
Every detail has been carefully considered to bring you the perfect product.
Description
<p>This sheet contains 24 decals and 24 stencils.</p>
<p>All nail vinyls are handmade by the Twinkled T sisters in Los Angeles, CA.
<h4>Directions</h4>
1. Begin by painting your choice of base polish onto your nails.<br data-mce-fragment="1">2. Once thoroughly dried, paint a coat of clear, fast-drying topcoat onto your nails.<br data-mce-fragment="1">3. Once thoroughly dried, use tweezers to lift nail vinyl off its sheet and place onto your nail.<br data-mce-fragment="1">4. Apply your second choice of polish over the nail vinyl.<br data-mce-fragment="1">5. While the nail polish is still wet, remove your nail vinyl from your nail.<br data-mce-fragment="1">6. Add a topcoat and show off your gorgeous new manicure! <br data-mce-fragment="1">
<h4>Tips</h4>
- Your nail vinyl order will include a special Twinkled T packaging to take your nail vinyls on the go!<br data-mce-fragment="1">- Tips and tricks for using nail vinyls can be found here.<br data-mce-fragment="1">- Use tweezers to lift your vinyls. The oils of hands will remove the sticky residue from the vinyl.<br data-mce-fragment="1">- Remove the nail vinyl while the polish is still wet. Once the polish begins to dry, it will create a stringy and clumpy effect of polish when removing the vinyl.
<p>All nail vinyls are handmade by the Twinkled T sisters in Los Angeles, CA.
<h4>Directions</h4>
1. Begin by painting your choice of base polish onto your nails.<br data-mce-fragment="1">2. Once thoroughly dried, paint a coat of clear, fast-drying topcoat onto your nails.<br data-mce-fragment="1">3. Once thoroughly dried, use tweezers to lift nail vinyl off its sheet and place onto your nail.<br data-mce-fragment="1">4. Apply your second choice of polish over the nail vinyl.<br data-mce-fragment="1">5. While the nail polish is still wet, remove your nail vinyl from your nail.<br data-mce-fragment="1">6. Add a topcoat and show off your gorgeous new manicure! <br data-mce-fragment="1">
<h4>Tips</h4>
- Your nail vinyl order will include a special Twinkled T packaging to take your nail vinyls on the go!<br data-mce-fragment="1">- Tips and tricks for using nail vinyls can be found here.<br data-mce-fragment="1">- Use tweezers to lift your vinyls. The oils of hands will remove the sticky residue from the vinyl.<br data-mce-fragment="1">- Remove the nail vinyl while the polish is still wet. Once the polish begins to dry, it will create a stringy and clumpy effect of polish when removing the vinyl.