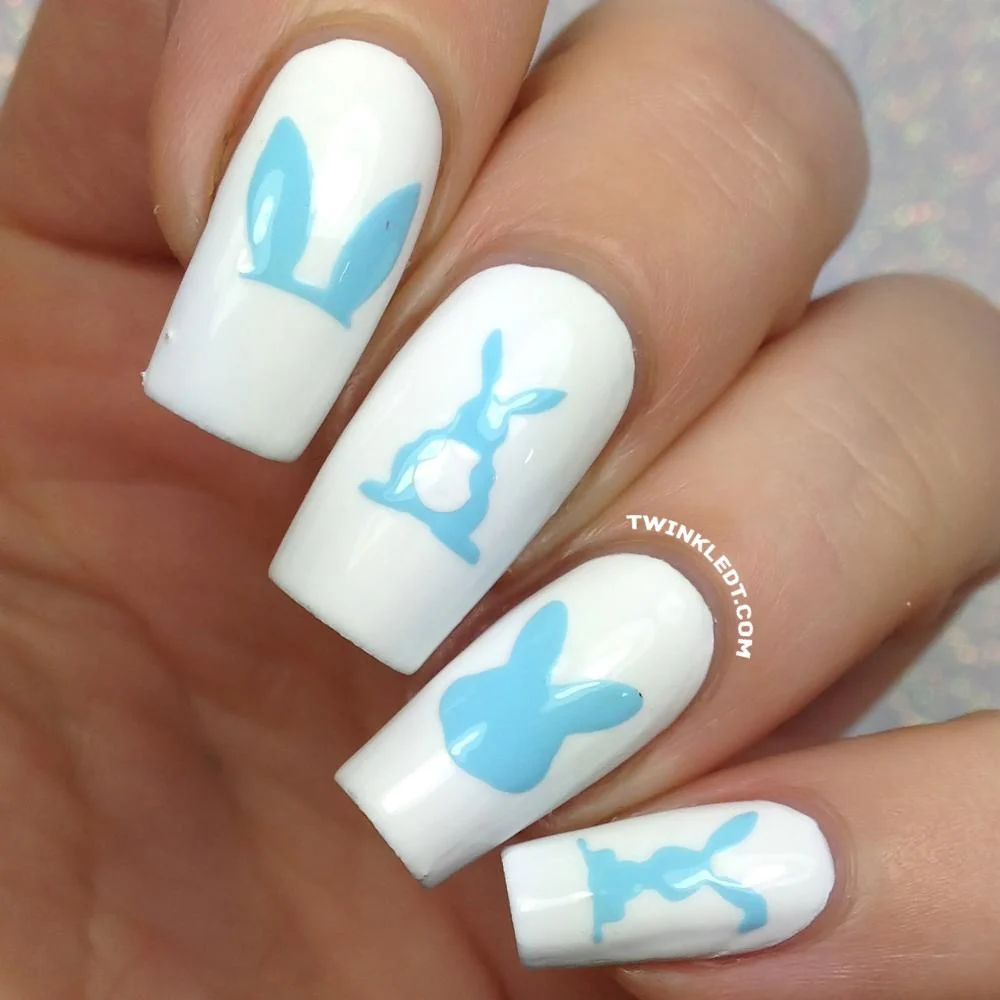
The Story
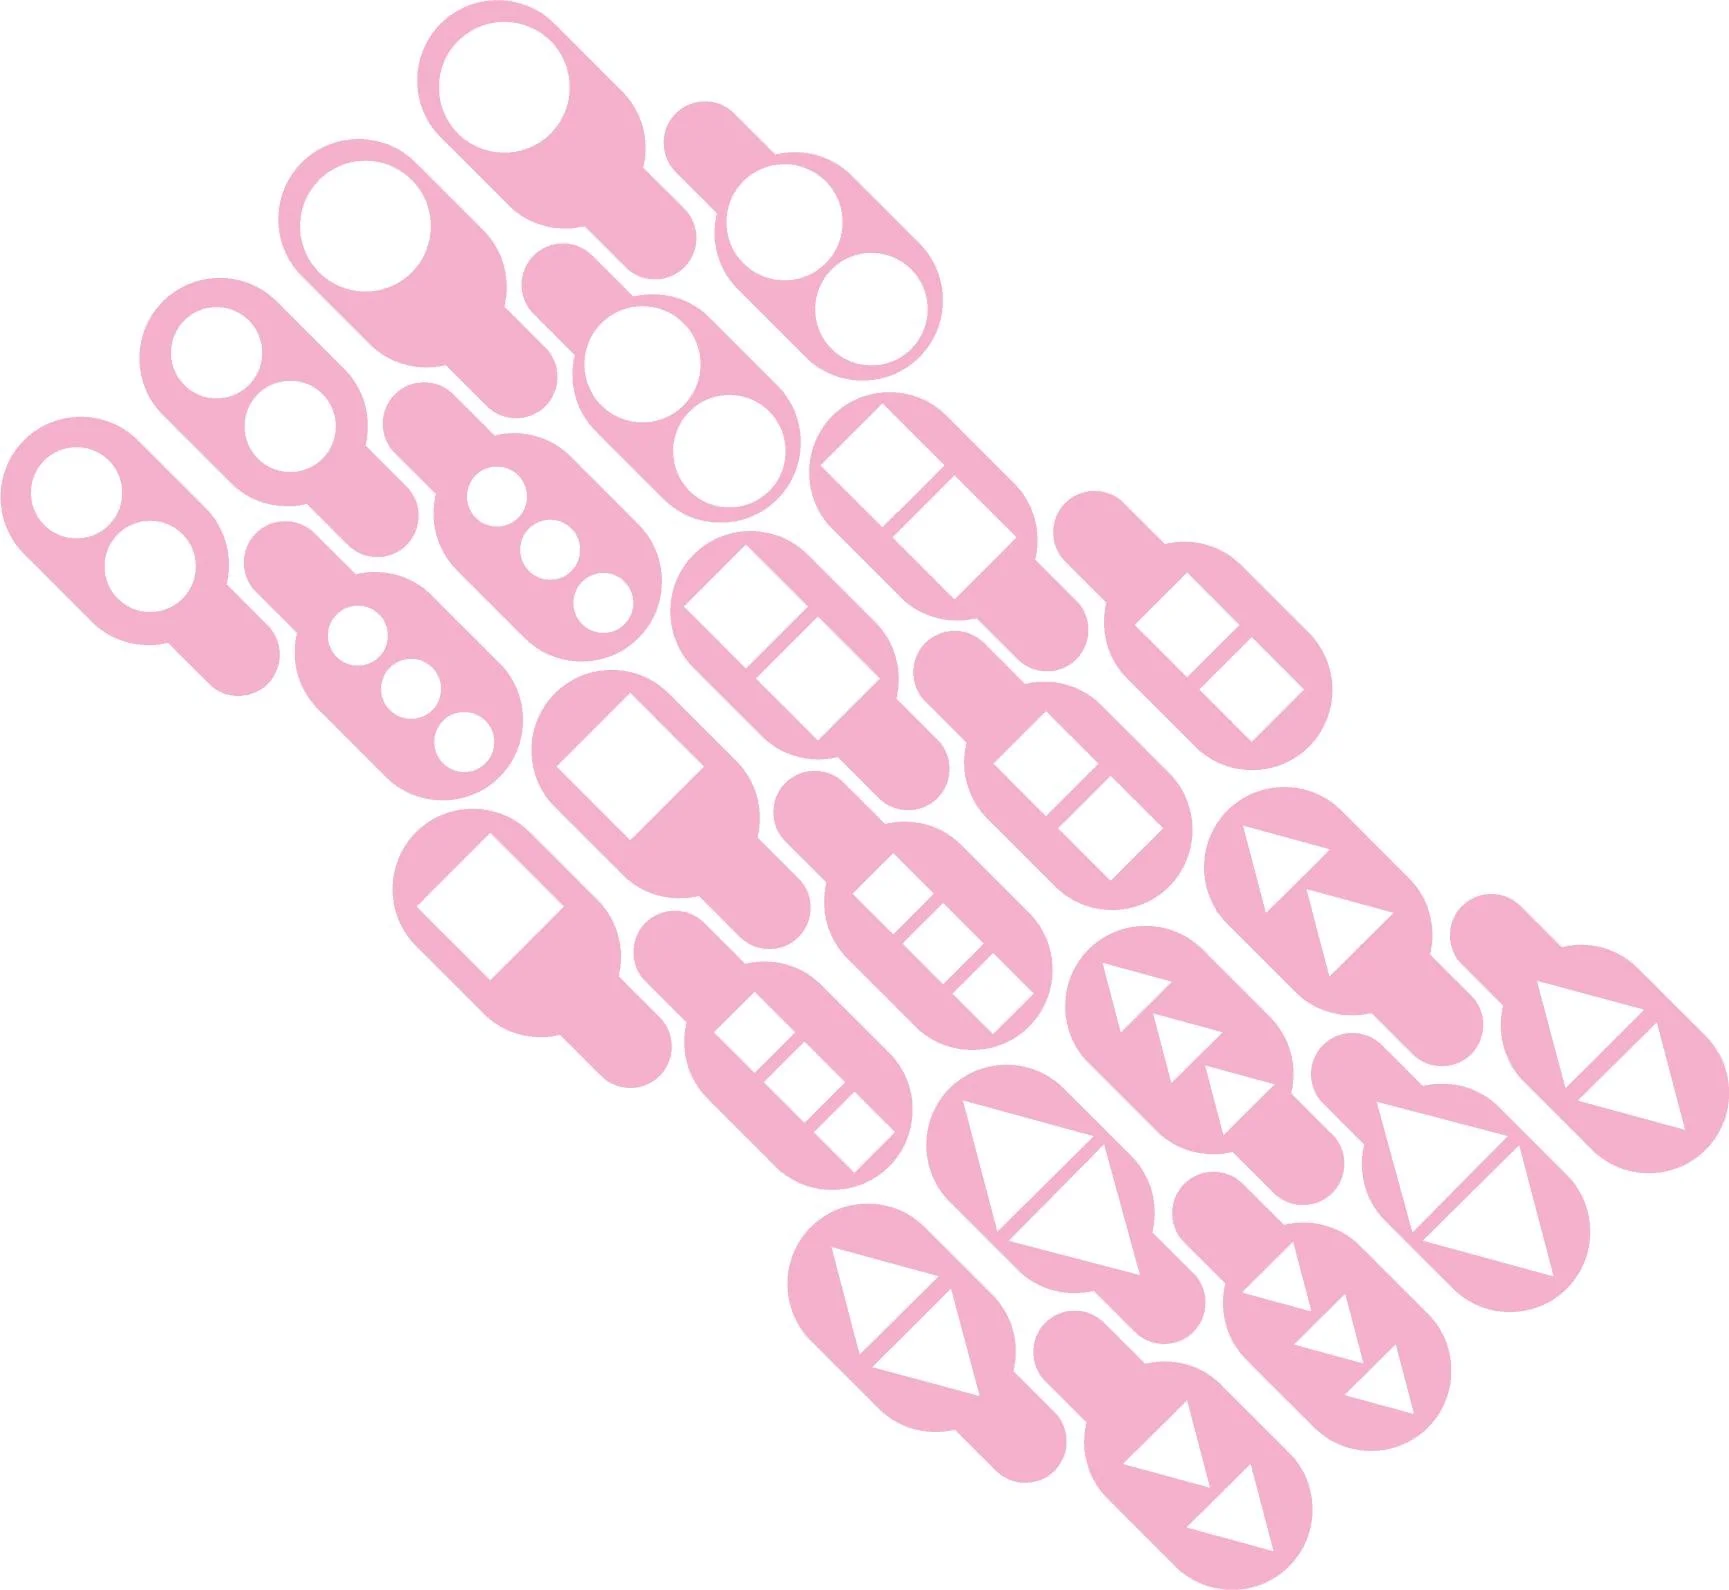
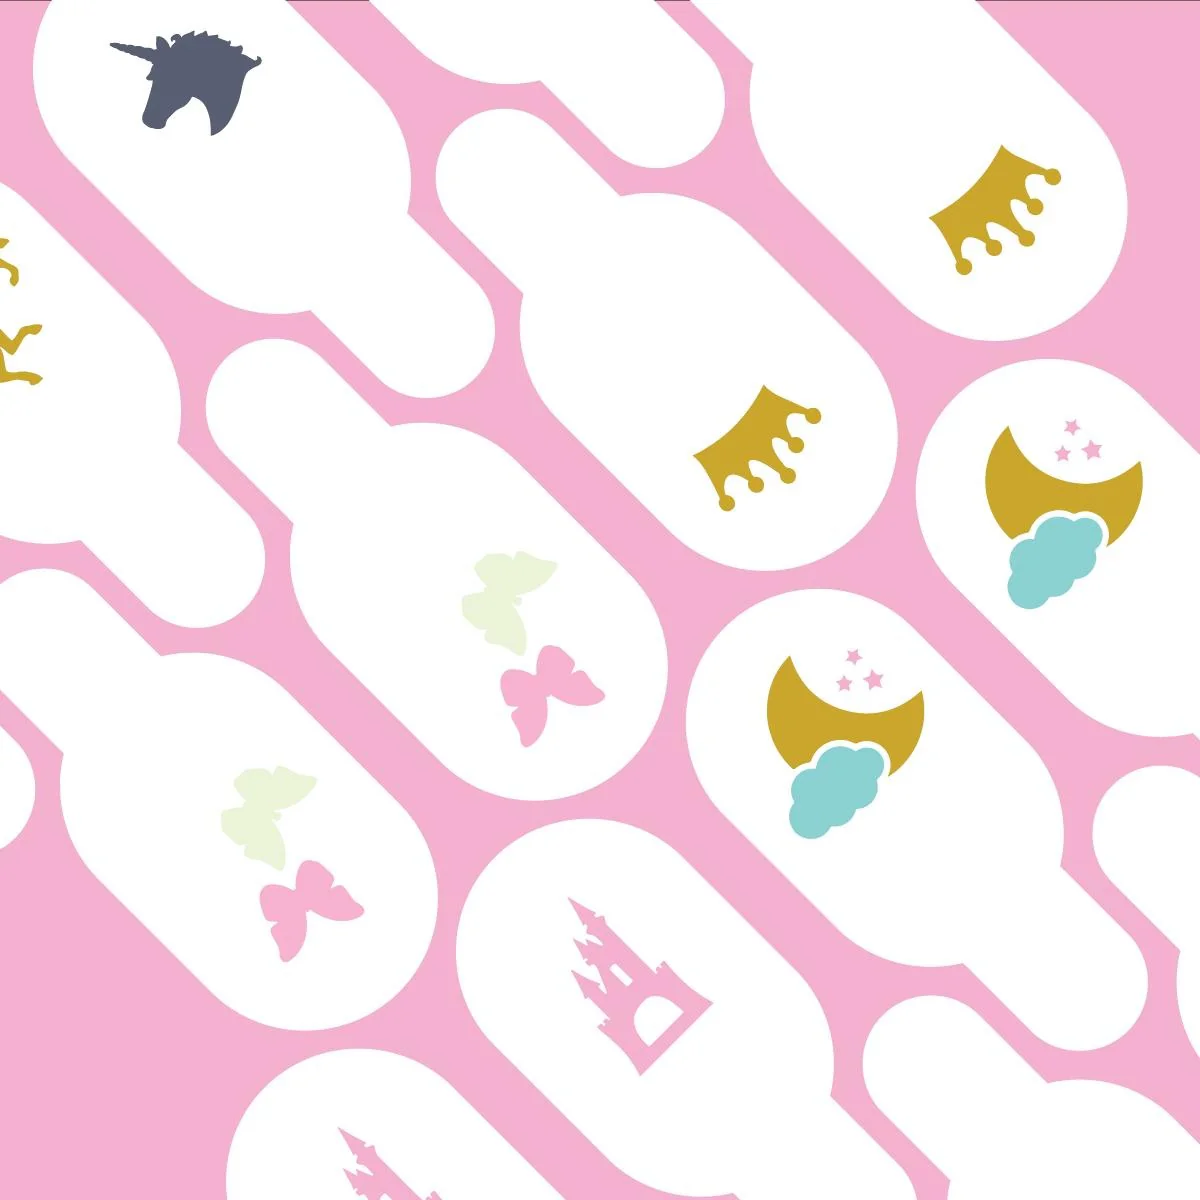
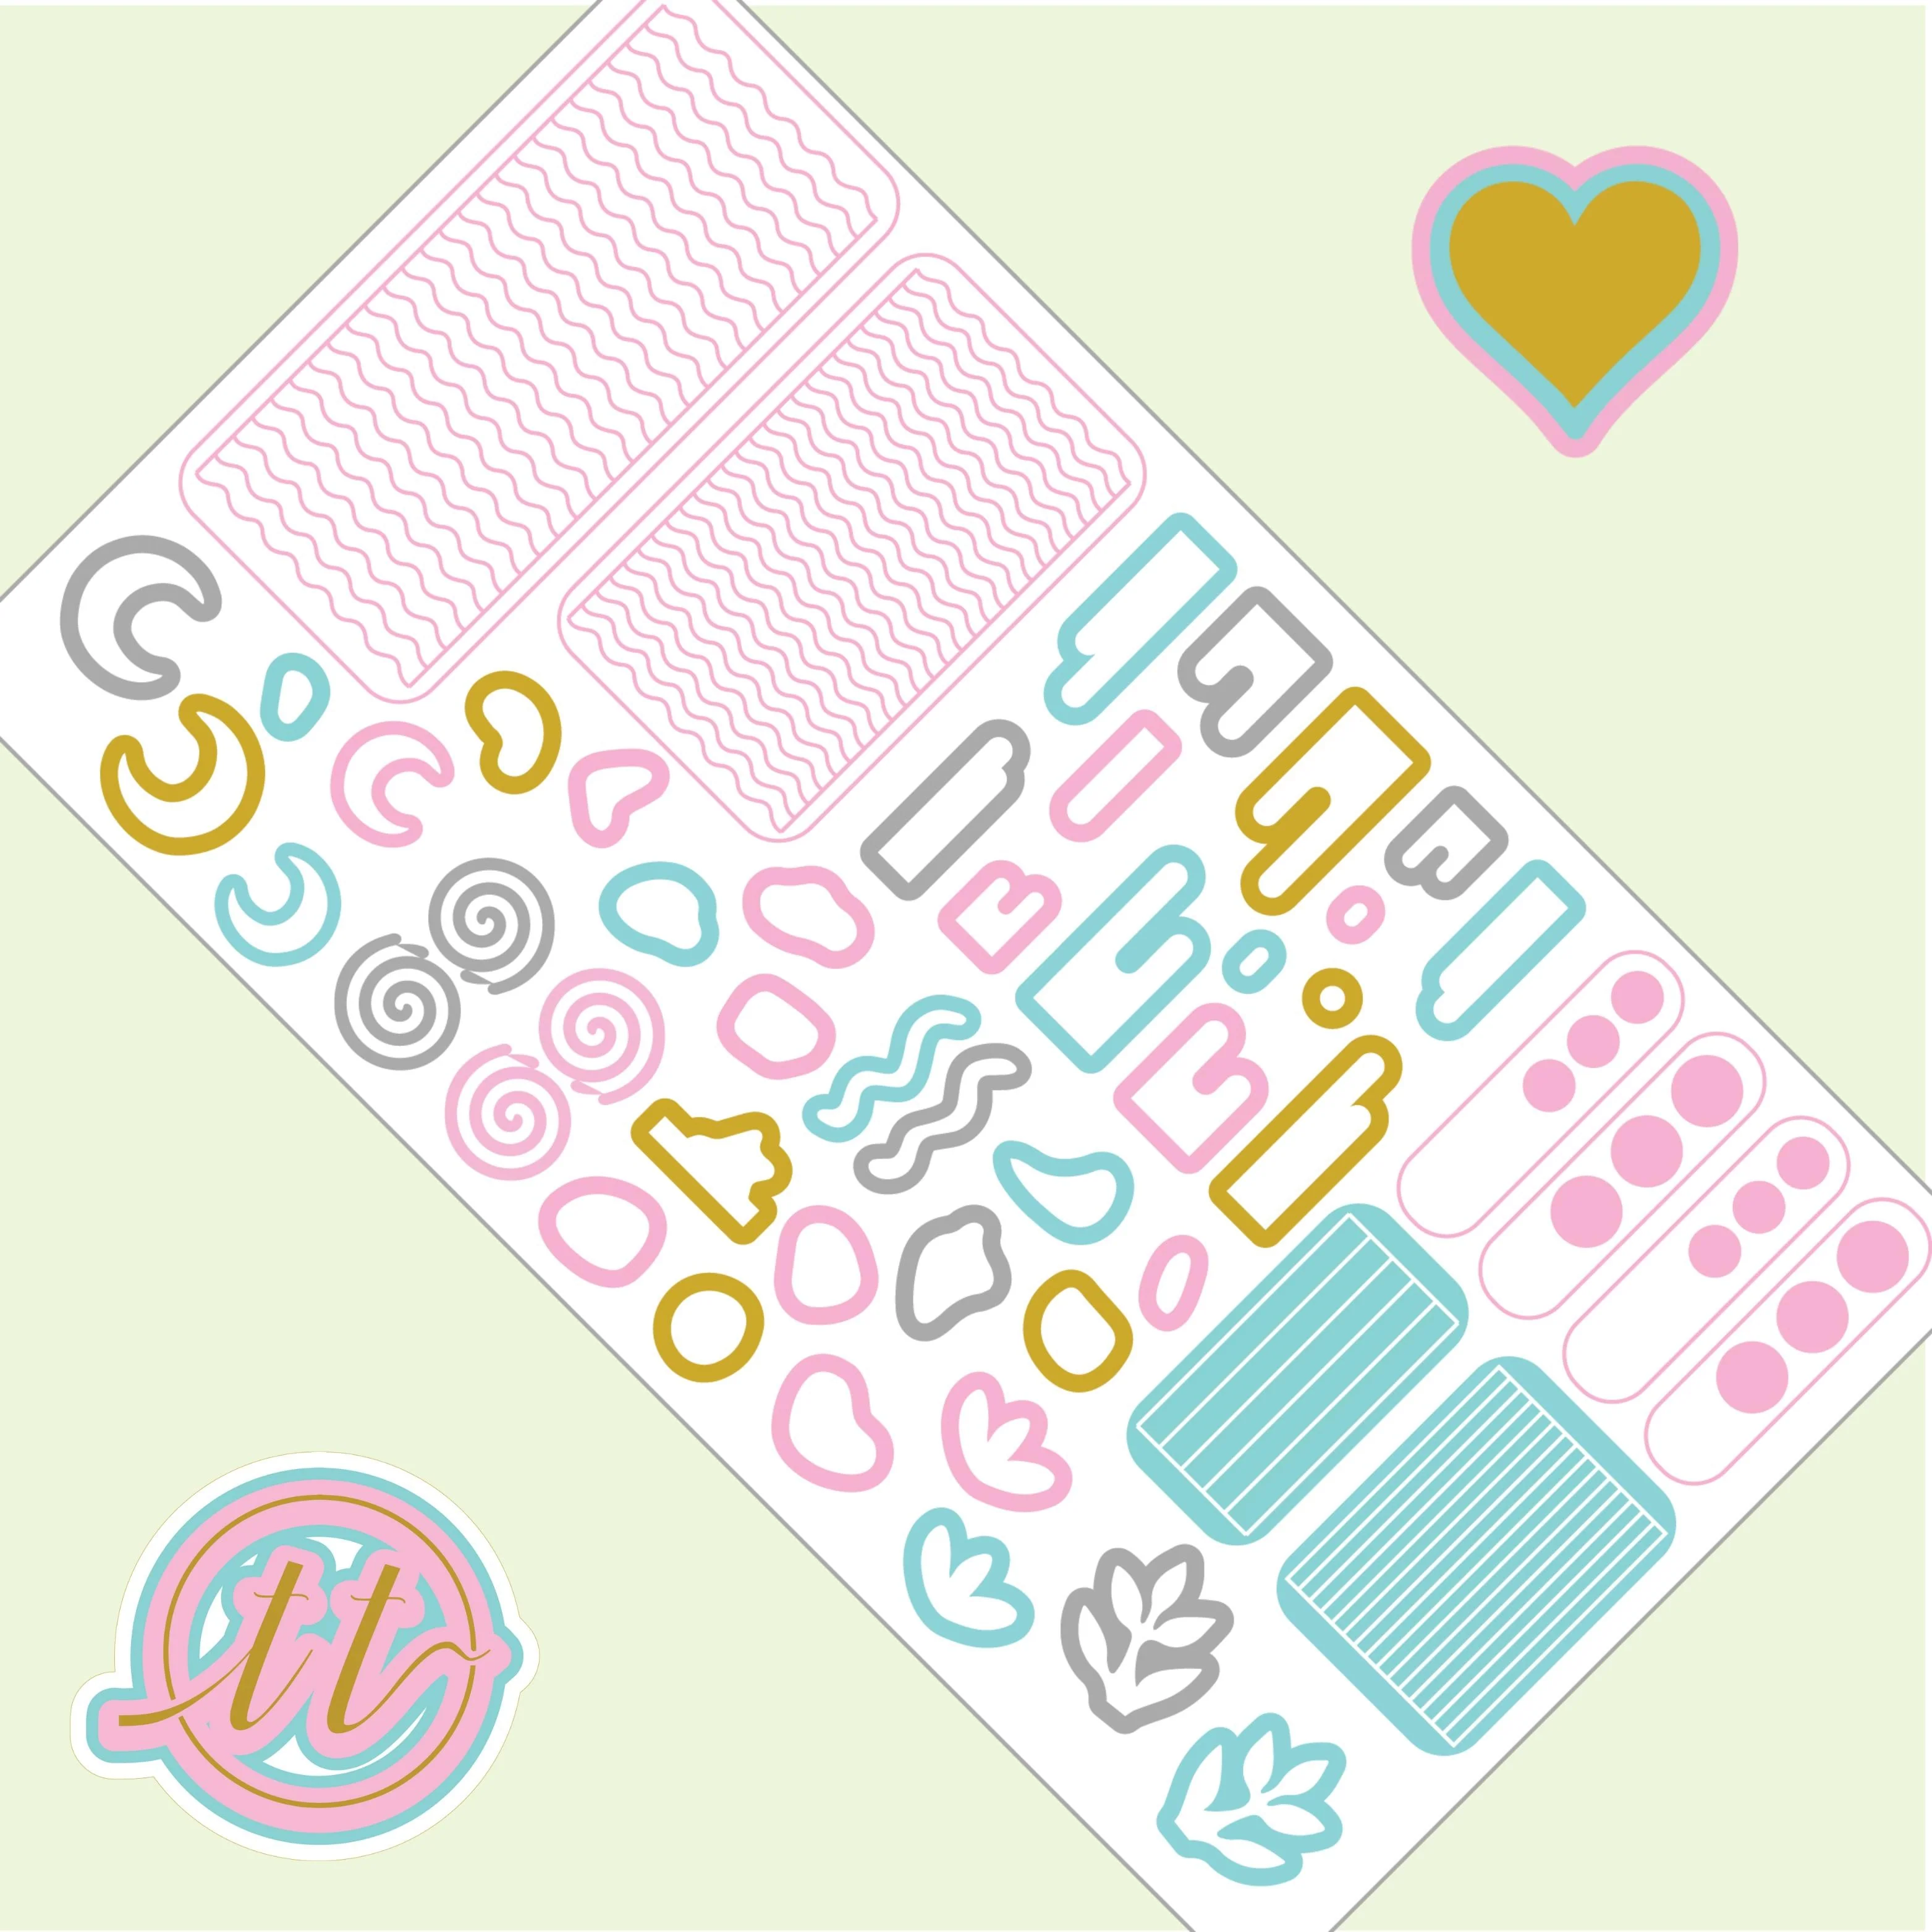
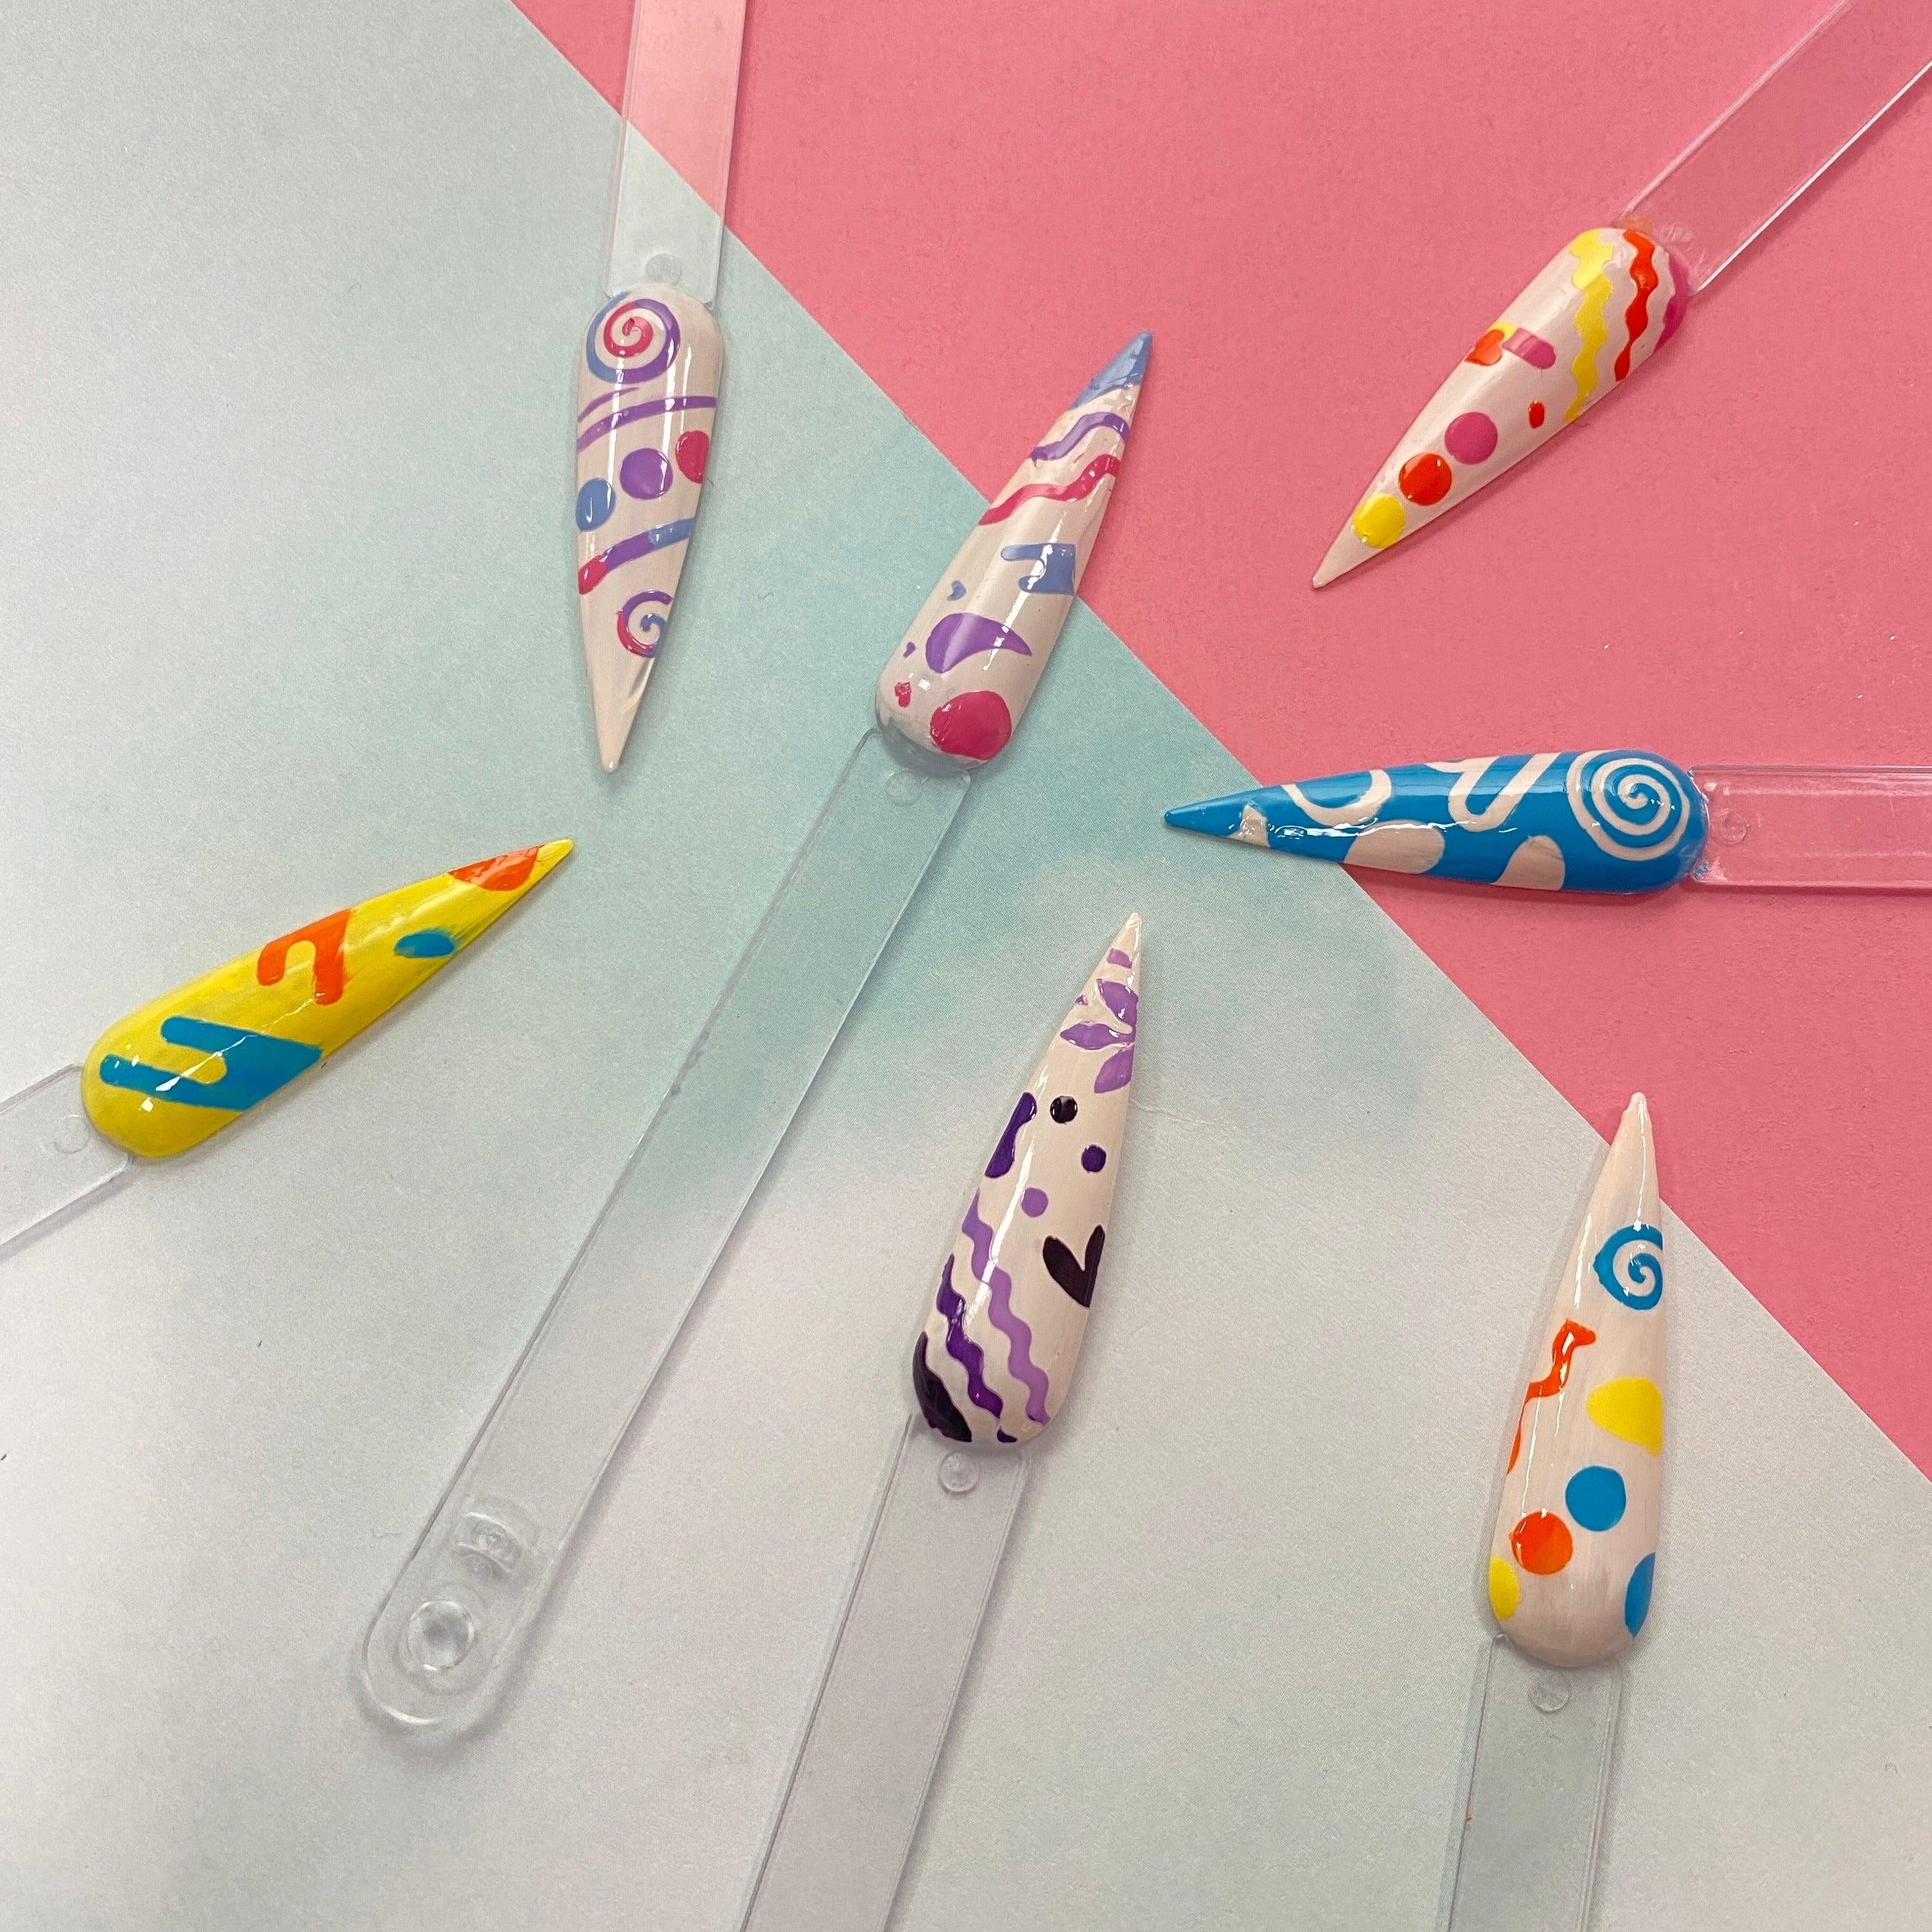
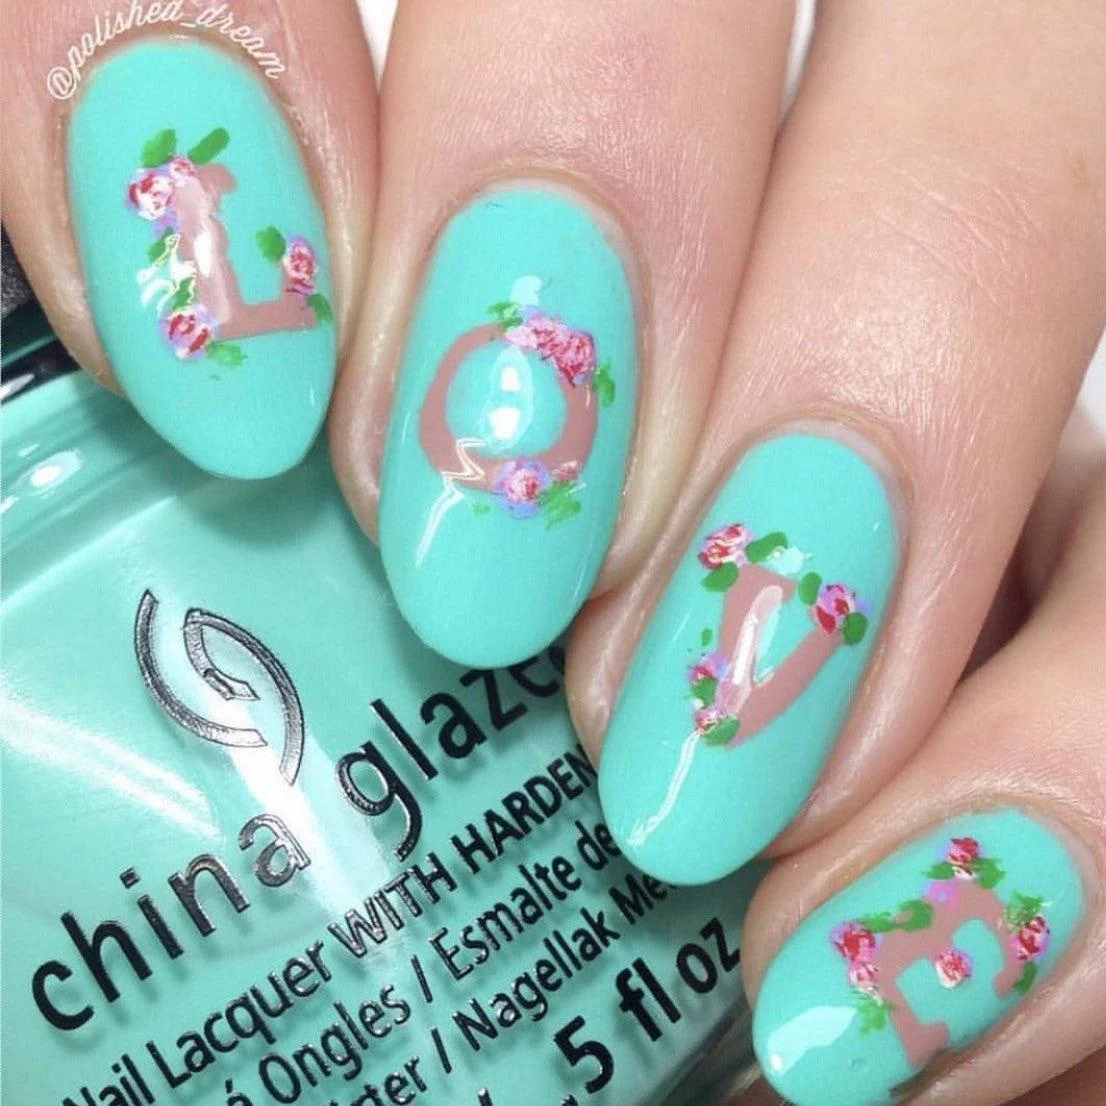
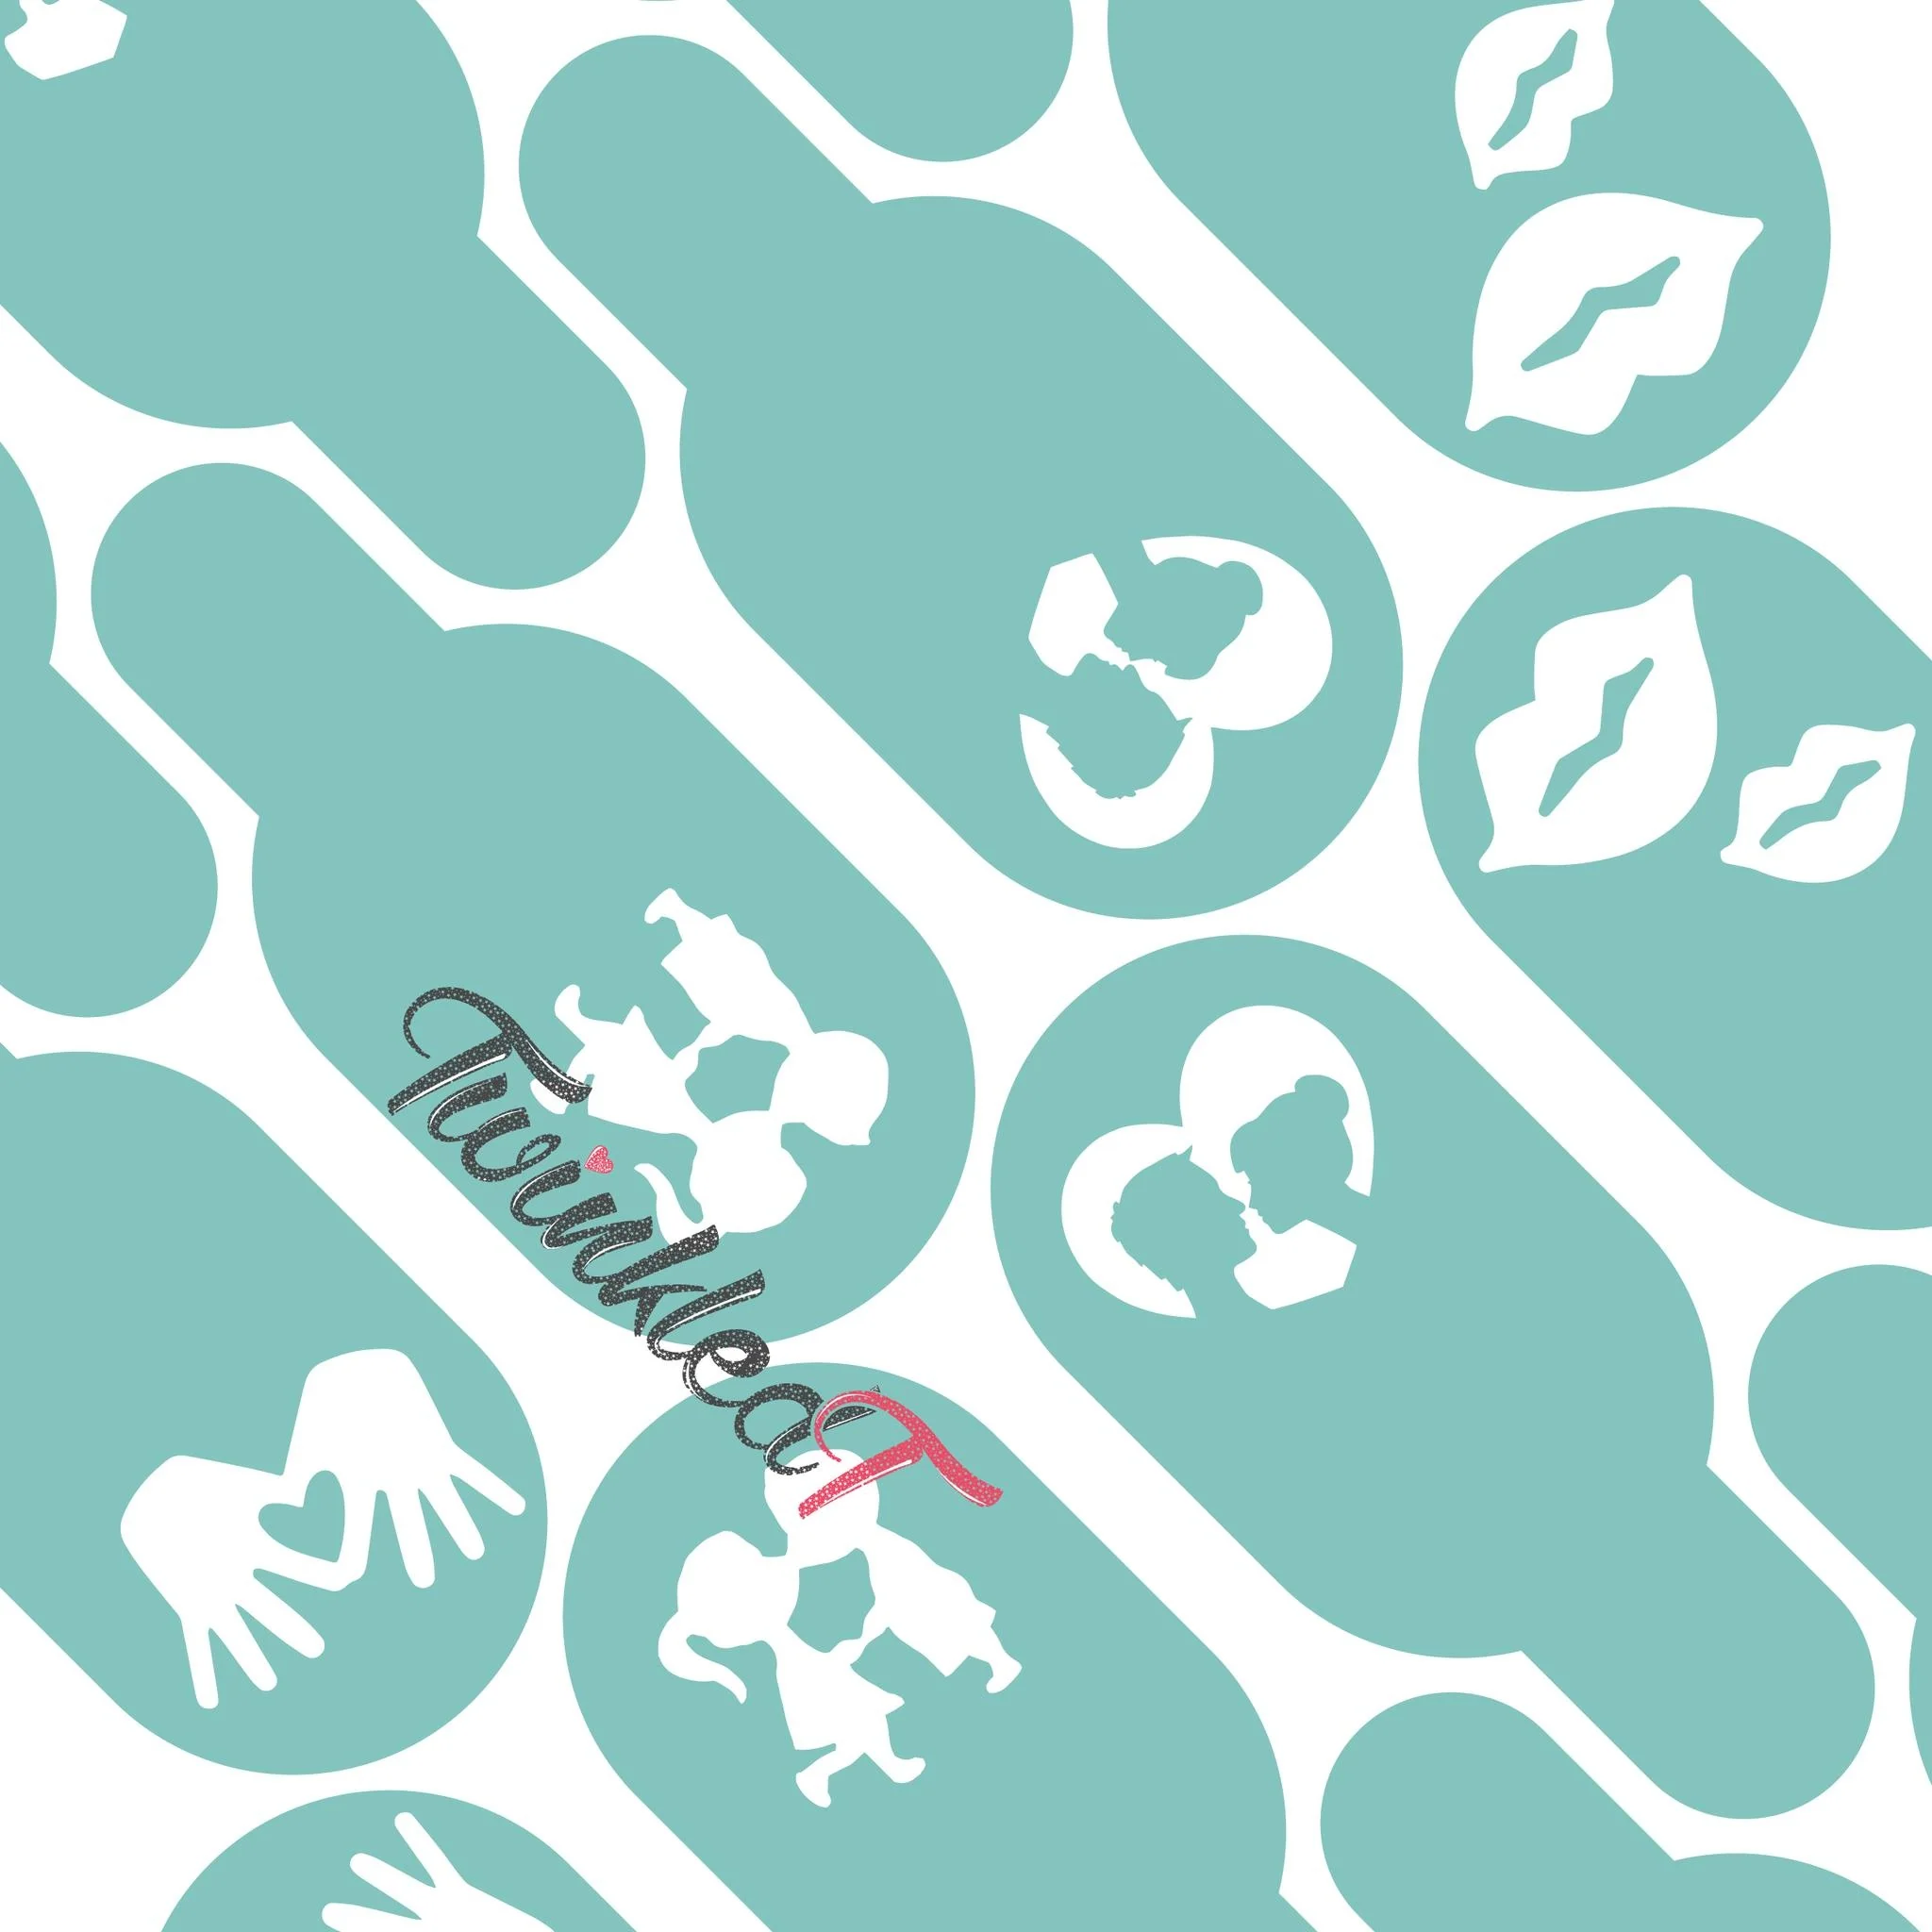
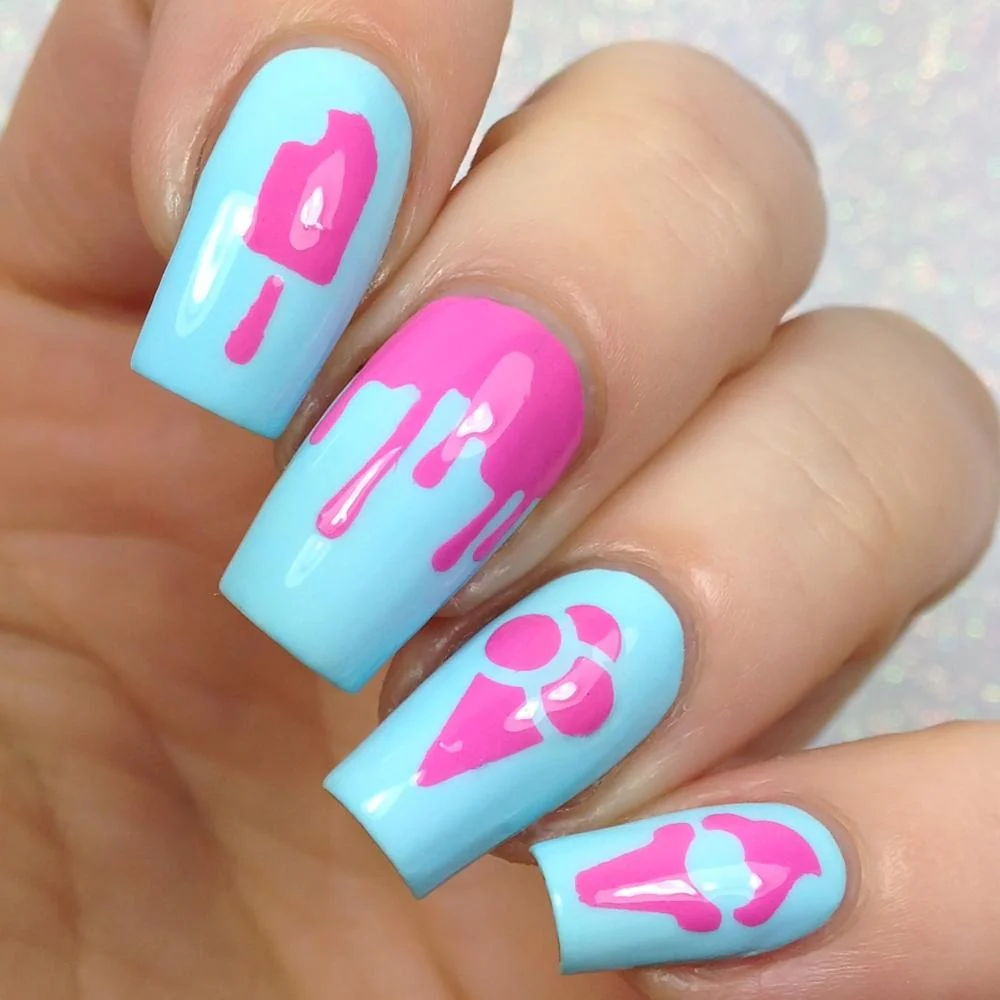
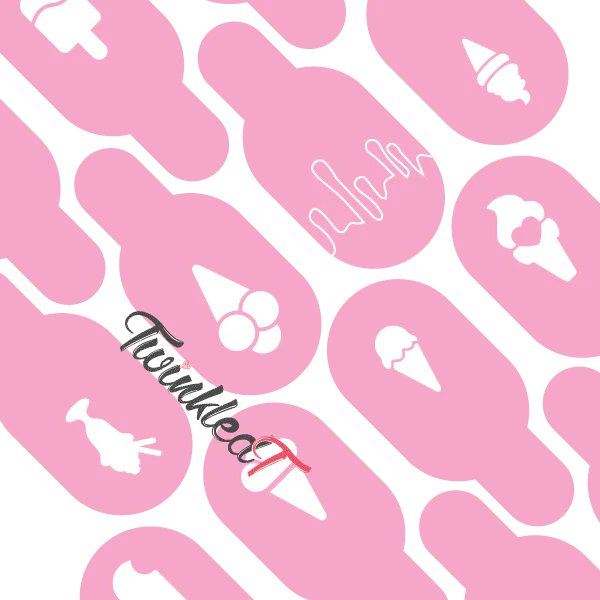
This sheet contains 24 stencils and 24 decals.
All nail vinyls are handmade by the Twinkled T sisters in Los Angeles, CA.
Directions
1. Begin by painting your choice of base polish onto your nails.
2. Once thoroughly dried, paint a coat of clear, fast-drying topcoat onto your nails.
3. Once thoroughly dried, use tweezers to lift nail vinyl off its sheet and place onto your nail.
4. Apply your second choice of polish over Twinkled T nail vinyl.
5. While the nail polish is still wet, remove your Twinkled T nail vinyl from your nail.
6. Add a topcoat and show off your gorgeous new manicure!
Tips
* Your nail vinyl order will include a special Twinkled T packaging to take your nail vinyls on the go!
* Tips and tricks for using nail vinyls can be found here.
* Use tweezers to lift your vinyls. The oils of hands will remove the sticky residue from the vinyl.
* Remove the nail vinyl while the polish is still wet. Once the polish begins to dry, it will create a stringy and clumpy effect of polish when removing the vinyl.
Video
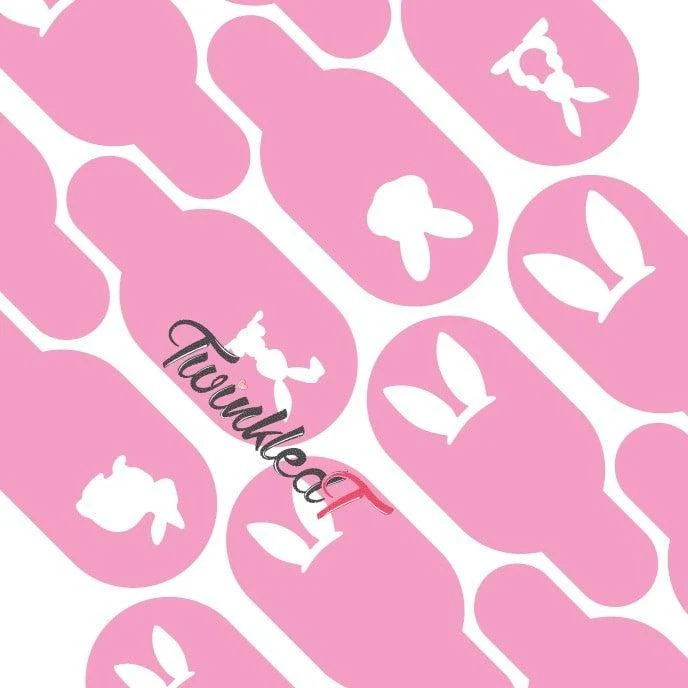
Details & Craftsmanship
Every detail has been carefully considered to bring you the perfect product.
Description
This sheet contains 24 stencils and 24 decals.
All nail vinyls are handmade by the Twinkled T sisters in Los Angeles, CA.
Directions
1. Begin by painting your choice of base polish onto your nails.
2. Once thoroughly dried, paint a coat of clear, fast-drying topcoat onto your nails.
3. Once thoroughly dried, use tweezers to lift nail vinyl off its sheet and place onto your nail.
4. Apply your second choice of polish over Twinkled T nail vinyl.
5. While the nail polish is still wet, remove your Twinkled T nail vinyl from your nail.
6. Add a topcoat and show off your gorgeous new manicure!
Tips
* Your nail vinyl order will include a special Twinkled T packaging to take your nail vinyls on the go!
* Tips and tricks for using nail vinyls can be found here.
* Use tweezers to lift your vinyls. The oils of hands will remove the sticky residue from the vinyl.
* Remove the nail vinyl while the polish is still wet. Once the polish begins to dry, it will create a stringy and clumpy effect of polish when removing the vinyl.